
Post-Hurricane Roof Check in Southwest Florida, A Step-by-Step Checklist for Homeowners
After a Southwest Florida hurricane, your roof can look “fine” from the driveway and still be letting water in. Wind-driven rain slips under edges, debris cracks materials, and pressure changes can loosen flashing in places you can’t see. That’s why a post hurricane roof inspection needs to be more than a quick glance.
The goal isn’t to turn you into a roofer. It’s to help you spot red flags early, document what happened, and protect your home until a licensed professional can confirm what’s damaged and what’s not.
Safety comes first (read this before you start)
This checklist is homeowner-friendly, but it’s not professional advice . Hurricanes leave hidden hazards: slick surfaces, shifted ladders, downed lines, and weak roof decking. If you’re unsure about footing, height, or electrical risks, stay off the roof and call a licensed roofer.
A few practical rules:
- Stay on the ground when possible. Use binoculars and your phone’s zoom.
- Avoid attic work if you smell gas, see sparking, or have active flooding.
- Don’t touch any downed wires, even if they look “dead.”
- If a tree is on the roof or the roofline is sagging, treat it as unsafe.
If you want a professional roof inspection that includes documentation and a condition report, start with a local team that does this daily, like Cape Coral roof inspection services.
Step-by-step post hurricane roof inspection checklist (ground to attic)
Move in this order. It’s like checking a boat after a storm: start outside, then work inward, then confirm from the attic.
- Confirm it’s safe to walk the property
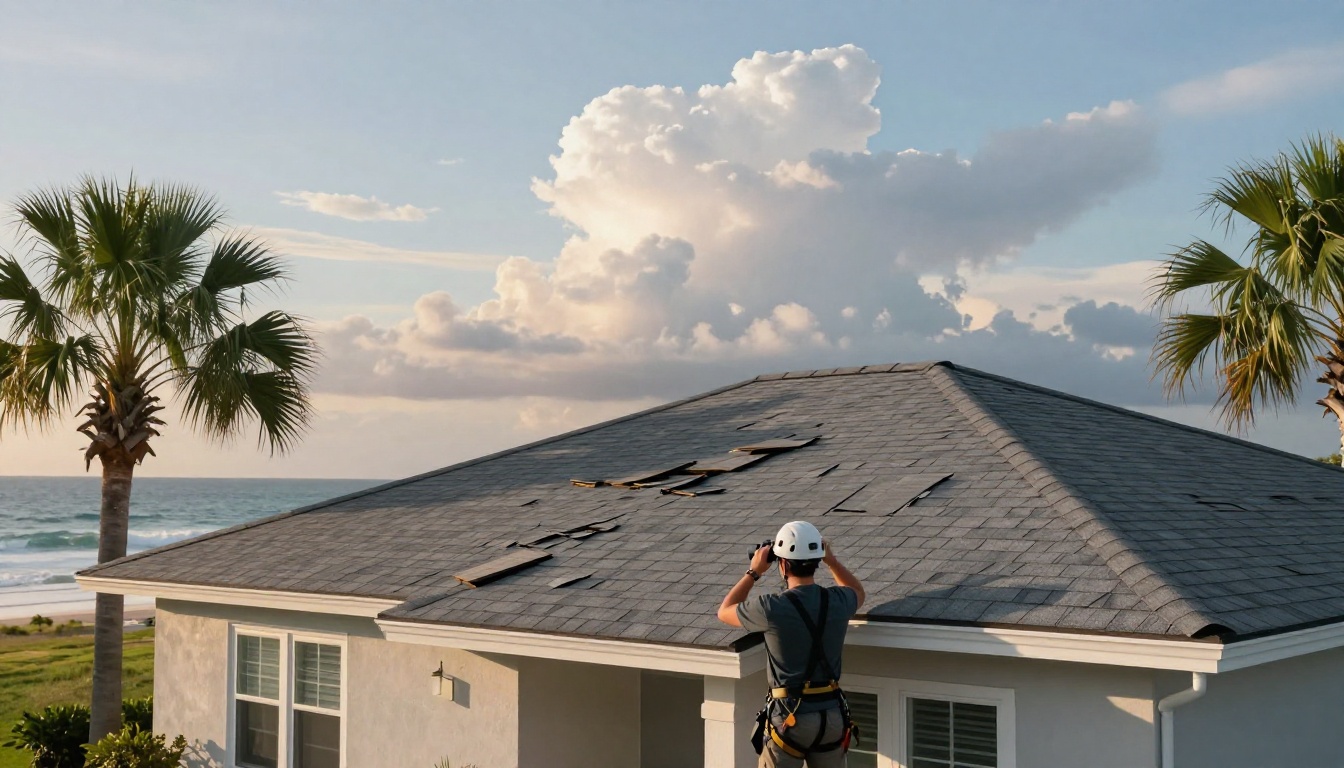
Watch for loose fencing, nails, broken glass, and hanging branches. Photograph hazards before you move them. - Walk the perimeter and look at the roofline
From each side of the house, look for dips, new waves, uneven ridges, or a chimney that looks slightly “off.” Those can point to deck movement or framing stress. - Scan the roof surface with zoom or binoculars
Look for missing materials, impact marks, lifted corners, or exposed underlayment. Pay attention to edges and corners, they take the worst wind pressure. - Check flashing and roof penetrations
Focus on plumbing vents, skylights, valleys, dormers, and where the roof meets walls. Lifted or bent flashing is a common leak source after wind gusts. - Check gutters, soffit, and fascia
A bent gutter line can mean water overflow, but it can also mean the edge of the roof system took a hit. Soffit panels popping out often point to wind pressure getting into the attic. - Look for debris damage and tree rub points
Even without a puncture, branches scraping repeatedly can strip granules from a shingle roof or crack a tile roof. - Do a quick interior ceiling scan
Look for new stains, bubbling paint, soft drywall, or damp window and door trim on the top floor. Mark stain edges lightly with pencil and date them to track growth. - Check the attic (only if safe)
Use a flashlight. Look for wet insulation, darkened decking, rusty nail tips, and any daylight coming through. If you see active dripping, take photos, then move to temporary mitigation steps. - Match what you see to your roof type
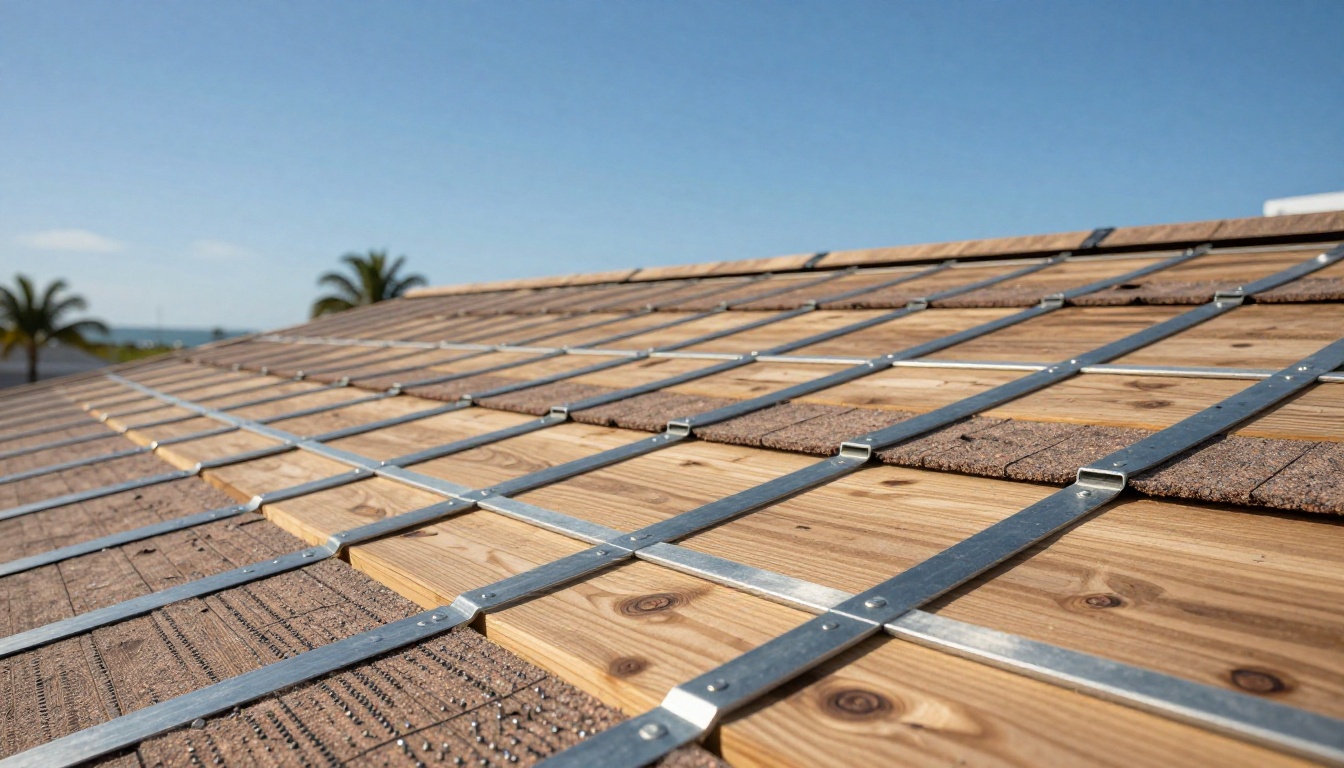
- Shingle roof : missing tabs, lifted edges, “bald” spots from granule loss, exposed nails.
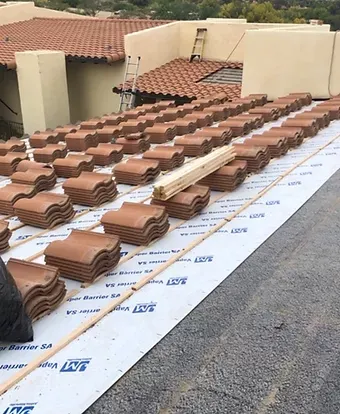
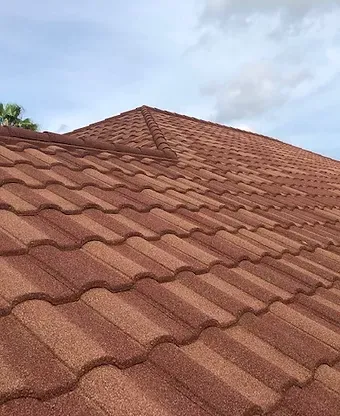
- Tile roof : cracked tiles, shifted rows, broken hip or ridge pieces. Tile can fail without obvious missing sections.
- Metal roof : loose fasteners on exposed-fastener panels, bent edges, separated seams on standing seam, damaged flashing at transitions.
- Stone coated steel roof : dents, displaced panels, exposed edges, missing accessories at ridges and hips.
- Flat roof (common on lanais and some additions): lifted membrane edges, wrinkles, punctures, clogged drains, ponding water lines.
- Commercial roof (if you own a small office or multi-unit building): check parapet edges, coping metal, rooftop equipment curbs, and interior ceiling tiles for new stains.
If your damage lines up with a recent named storm event, see how a contractor typically approaches documentation and next steps in a real scenario like this Hurricane Milton roof damage assessment.
Damage symptoms and what they usually mean
Small clues can point to big problems. Use this table to connect symptoms to likely causes, then confirm with a professional roof inspection.
| What you notice | What it often points to | Why it matters fast |
|---|---|---|
| Missing shingles or exposed underlayment | Wind uplift, adhesive bond failure, debris hits | Water can enter with the next rain |
| Cracked or shifted tiles | Impact damage, foot traffic, ridge failure | Underlayment may be torn underneath |
| Lifted flashing at walls or valleys | Wind pressure, fastener pull-out, sealant failure | Leaks often start at these transitions |
| Granules piling in gutters | Shingle wear accelerated by wind and debris | Shortens roof life and raises leak risk |
| Soffit or fascia damage | Wind getting into attic, edge system failure | Can drive rain into the roof deck |
| Water stains on ceilings or walls | Active or recent leak, flashing or field failure | Mold and drywall damage can follow |
| Daylight visible in attic | Deck damage, missing material, puncture | Treat as urgent to prevent interior loss |
For long-term storm hardening ideas (especially for edges and water intrusion), FEMA’s building science guidance is a solid reference, including best practices to reduce wind and water damage.
Document damage, prevent more damage, and protect your claim
Think of documentation like a receipt for what the storm did. It helps your adjuster, and it helps your roofing company give accurate recommendations.
Take these steps before you clean up too much:
- Photograph wide shots of each roof slope from the ground, then closer shots of damaged areas (include a landmark for scale).
- Record date, time, and which side of the home you’re facing.
- Save samples of blown-off materials if they landed on your property (don’t climb for them).
- Keep a simple log of when stains appeared or grew.
When it’s time to stop additional damage, stick to reasonable temporary repairs :
- Cover active leaks with a tarp only if it can be done safely from the ground or a stable ladder, and avoid nailing through visible shingles or tiles unless a professional instructs it.
- Move valuables out of the drip path, use buckets, and run a fan or dehumidifier to slow moisture spread.
- Keep every receipt for tarps, fasteners, and drying equipment.
Insurance rules vary by policy, so avoid permanent repairs before the claim is documented. It’s also smart to understand how deductibles work in Florida, including Florida’s hurricane deductible guidance.
If your inspection suggests widespread damage, start learning what a full roof replacement process looks like (materials, permits, timeline) using this Southwest Florida roof replacement guide. For some homeowners, grant help may also be available through the My Safe Florida Home Program.
When to call a roofer right away (and what a good inspection includes)
Call a roofer the same day if you have active interior leaks, missing sections, a puncture, sagging, a tree impact, or repeated ceiling stains after rain. Waiting turns a manageable repair into drywall, insulation, and framing work.
A trustworthy roofing company should be able to:
- Perform a documented roof inspection of the field, flashing, edges, and penetrations.
- Identify storm damage versus wear where possible, with photos.
- Explain options clearly: repair, partial replacement (when allowed), or full roof replacement.
- Discuss material choices that fit your home and budget, whether that’s a shingle roof, tile roof, metal roof, stone coated steel roof, or a flat roof system for an addition.
- For a commercial roof, note drainage, membrane seams, edge metal, and rooftop equipment attachments.
If you own a tile roof and suspect cracked or shifted sections, this deeper look at common tile roof issues after storms can help you understand what’s normal and what’s not.
Conclusion
A hurricane doesn’t need to “rip the roof off” to cause expensive leaks. A careful post hurricane roof inspection helps you catch damage early, document it well, and make smart decisions about repair or roof replacement. If anything looks questionable, don’t guess from the ground. Schedule a professional evaluation with a licensed roofer and keep your next rainstorm from becoming a second disaster.