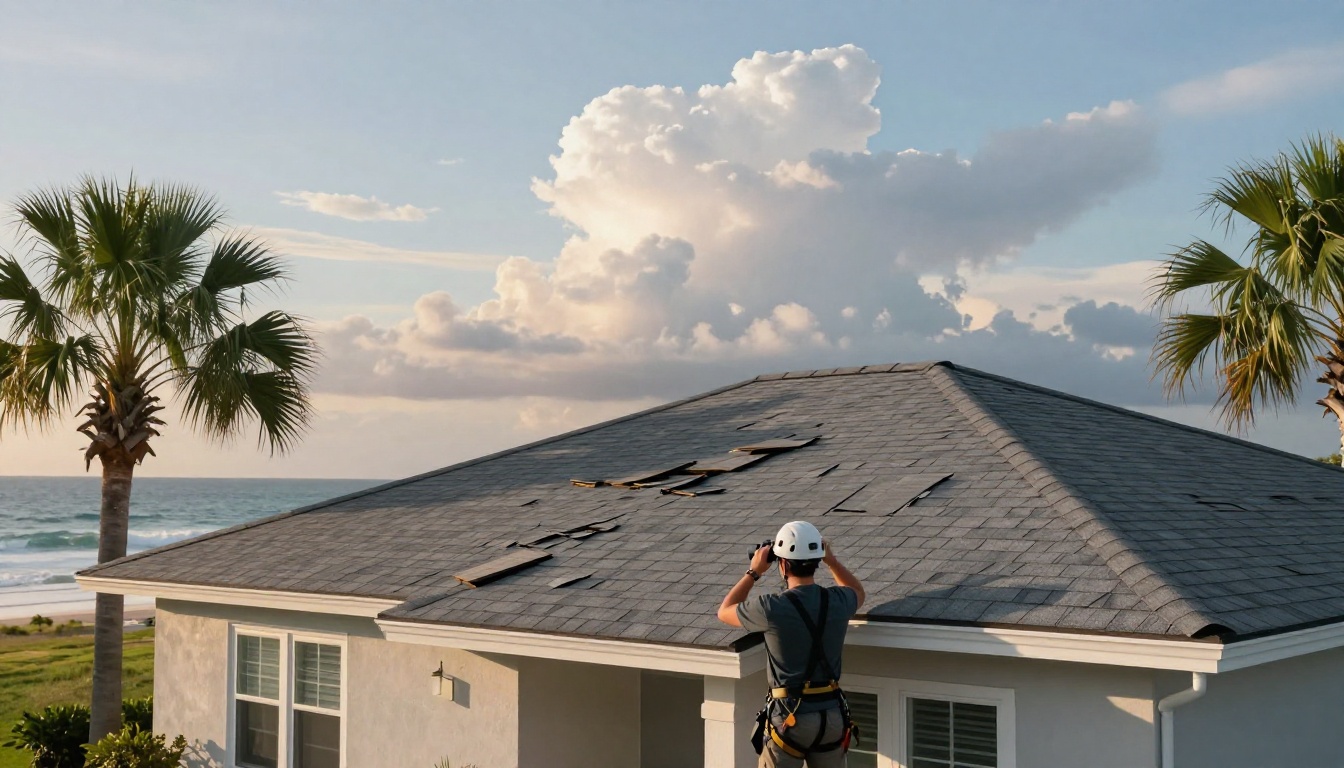

Hurricane Strap and Nail Patterns, What They Mean for Your New Roof in Southwest Florida
If you’re planning a roof replacement in Lee, Collier, Charlotte, or Sarasota County, you’ll hear two phrases that sound small, but carry big weight in a storm: hurricane straps and nail patterns. They’re not upgrades that make your roof look nicer. They’re the hidden details that help your roof stay put when wind tries to peel it off like a lid.
Here’s the simple way to think about it: your roof system is a chain. The roof covering (shingles, tile, metal) is one link. The roof deck is another. The connection from the roof framing into the walls is another. If any link is weak, the whole system suffers.
This guide explains what hurricane straps and nailing schedules mean in plain language, how they affect different roof types, and how to verify the work during a reroof without getting in the crew’s way.
The “continuous load path” and why fastening details matter
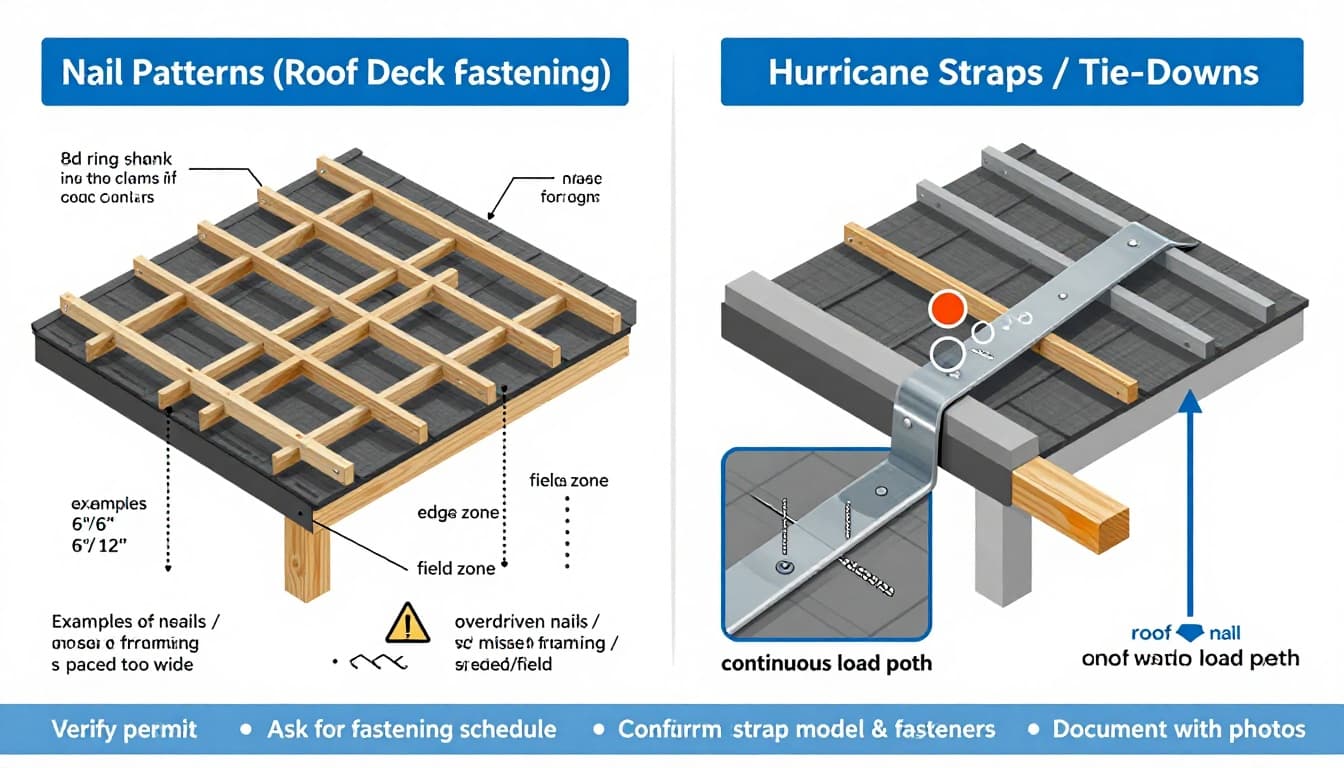
Infographic showing common roof deck nail pattern zones and how hurricane straps connect the roof framing to the walls, created with AI.
Southwest Florida sits in the Wind-Borne Debris Region, and design wind speeds can vary a lot by address, height, and coastal exposure. In practical terms, that means your fastening plan can’t be guessed. It should come from the permit set and, when required, engineering.
A “continuous load path” is the idea that wind forces have a clear, strong route from the roof, into the walls, and down to the foundation. Wind doesn’t just push on the roof. It creates uplift, like a giant hand trying to lift the roof at corners and edges first.
That’s where hurricane straps roof connections come in. Straps (or clips) tie the truss or rafter to the wall structure. Nail patterns do a similar job one step above, tying the roof deck (plywood/OSB) down to the framing, and tying the roof covering down to the deck.
If you want a good high-level reference on retrofits that often come up during reroofing, see Florida’s PDF on hurricane mitigation retrofits.
For homeowners, the key is simple: don’t focus only on the visible roof material. Ask how the deck and connections are being fastened, and how it matches the approved plans.
Nail patterns: what the roofer is trying to achieve
A roof deck fastening “pattern” is the spacing and type of fasteners used to secure the sheathing to trusses or rafters. You’ll often hear contractors talk about edge zones and field zones. The edge zones (perimeters and corners) usually see higher uplift, so fastening is often tighter there.
Many permit plans use familiar spacing language like “6 and 12” or “6 and 6” to describe edge and field fastening. Those are common patterns, but they are not universal. The official fastening schedule depends on the Florida Building Code version in effect, roof shape, height, exposure category, and engineering.
Nail choice matters too. Ring-shank nails are designed to resist pull-out better than smooth shank nails, which is why they’re often recommended in high-wind areas. Your approved plan may also call out nail length, head size, and where they must land (into framing, not just into the deck).
Nail patterns don’t stop at the deck. Your roof covering has its own fastening rules:
- A shingle roof depends heavily on correct nail placement and count per shingle, plus starter strips and perimeter details.
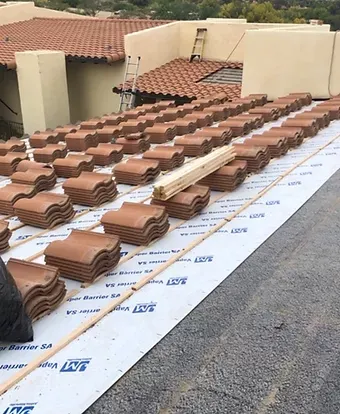
- A tile roof relies on approved attachment methods (foam, screws, clips, or mortar in limited cases), and the weak point is often the edges and flashings, not the tile field. If you own tile, keep a maintenance mindset year-round, not just after storms. Helpful reading: Common tile roof repairs in Southwest Florida.
- A standing seam metal roof is about clip spacing, panel attachment, and edge metal details. The deck still matters, because underlayment and attachment below it are part of the system.
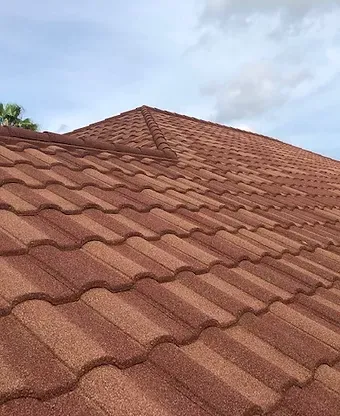
- A stone coated steel roof mixes the strength of steel with a profile that looks like shake or tile. It still depends on approved fasteners and a solid deck.
- A flat roof (common on lanais and some modern homes) depends on membrane attachment, insulation attachment, and edge terminations that resist uplift. More context: Flat roof material options for Southwest Florida.
If you want additional background on sheathing fastening discussions in a local context, this overview can help frame the topic: FBC roof sheathing and ring-shank nails.
Hurricane straps and clips: what “properly installed” really means
Hurricane straps aren’t all the same. Different models have different allowable fasteners and hole patterns, and the correct strap for one home might be wrong for another. That’s why the permit plans matter.
In the field, “installed” should mean more than “a strap is present.” It should mean:
The strap is the correct model for the connection, it sits tight to the framing, the fasteners are the correct type, and every required hole is filled where the plan calls for it. Partial nailing can reduce capacity a lot.
It also needs to be the right environment fit. Near salt air, corrosion resistance matters. If you’re close to the Gulf or bays, ask what hardware and fasteners are being used and why.
These connections affect every roof type, including a commercial roof . On commercial buildings, load paths can run through steel framing, masonry, or wood framing, but the concept stays the same. Wind loads must transfer safely, without weak links at the roof edge, parapet, or attachment points.
If you’re unsure what wind-resistance features are worth discussing with your contractor, this article gives practical homeowner-level context: Enhancing roof wind resistance in Cape Coral.
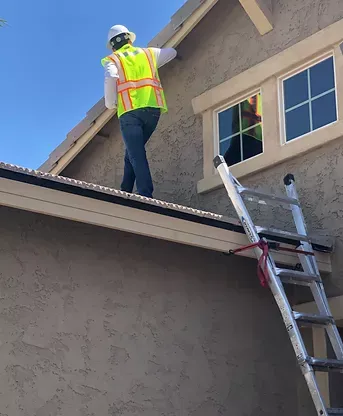
How to verify during a reroof (without slowing the job)
You don’t need to be a roofer to verify the basics. You just need timing, photos, and the right questions.
- Before tear-off
- Ask for the permit set and the fastening schedule (deck and roof covering).
- Confirm what will be inspected, and when inspections are expected.
- Schedule a pre-job roof inspection if you want baseline documentation. This helps: Why regular roof inspections matter in Southwest FL.
- During deck exposure
- Take wide photos of the bare deck, especially corners and perimeters.
- If re-nailing is required, ask what pattern is being used, and where edge zones change to field zones.
- Watch for clean, consistent fastening, not random spacing.
- Before dry-in (underlayment stage)
- Photograph underlayment laps, valleys, penetrations, and the drip edge area.
- Confirm the products match what’s approved for your roof type.
- Final (after install)
- Get photos of completed roof planes, ridge, hips, valleys, and all flashings.
- Ask for final permit sign-off, product approvals (if applicable), and the paid invoice with scope.
For a broader view of what to expect from start to finish, keep this handy: Step-by-step roof replacement guide Southwest Florida.
Common pitfalls, insurance documentation, and a quick glossary
Common pitfalls that weaken an otherwise “new” roof
- Overdriven nails : Nails sunk too deep can reduce holding power and damage the deck surface.
- Missed framing : A nail in air does nothing, even if it looks like a full pattern.
- Mixed fasteners : Substituting nail type, length, or corrosion rating can change performance.
- Under-fastened straps : Straps with missing required fasteners are a frequent problem in older homes and rushed repairs.
- Corrosion near salt air : Wrong metal combinations can rust early and lose strength.
FAQ: wind mitigation reports and what to keep
Will straps and nail patterns help my wind mitigation report?
Often, yes, but only if they’re documented and meet the inspector’s criteria. Wind mitigation is evidence-based. Photos and paperwork matter.
What documents should I keep after a roof replacement?
Keep the permit card, final inspection approval, contract, invoice, product approvals (when provided), and a photo set showing deck stage, underlayment stage, and finished roof.
Can my insurance company ask for proof later?
Yes. Insurers may request records during underwriting, renewal, or after a claim. Organized documentation can prevent delays.
Short glossary (plain language)
| Term | What it means for your roof |
|---|---|
| Roof deck | The plywood/OSB layer your roof covering attaches to |
| Nail pattern | The spacing plan for fastening the deck or roof covering |
| Edge zone | Roof perimeters/corners where wind uplift is often higher |
| Hurricane strap/clip | Metal connector tying roof framing to wall framing |
| Load path | How wind forces travel from roof to foundation |
Safety and liability disclaimer: This article is informational and not engineering or legal advice. Fastening requirements depend on the permit plans, the Florida Building Code version in force, site exposure, and your roof design. Always follow the approved permit set and consult your engineer, inspector, or local building department for the official fastening schedule.
A roof can look perfect and still be weak underneath. When you choose a qualified roofing company, ask to see how the deck will be fastened and how roof-to-wall connections will be verified. A careful roof inspection , clear photos, and the permit paperwork can make your new roof easier to defend, on the house and on paper.