
Roof Leaks in Cape Coral, How to Trace the Source When the Drip Isn’t Under the Hole
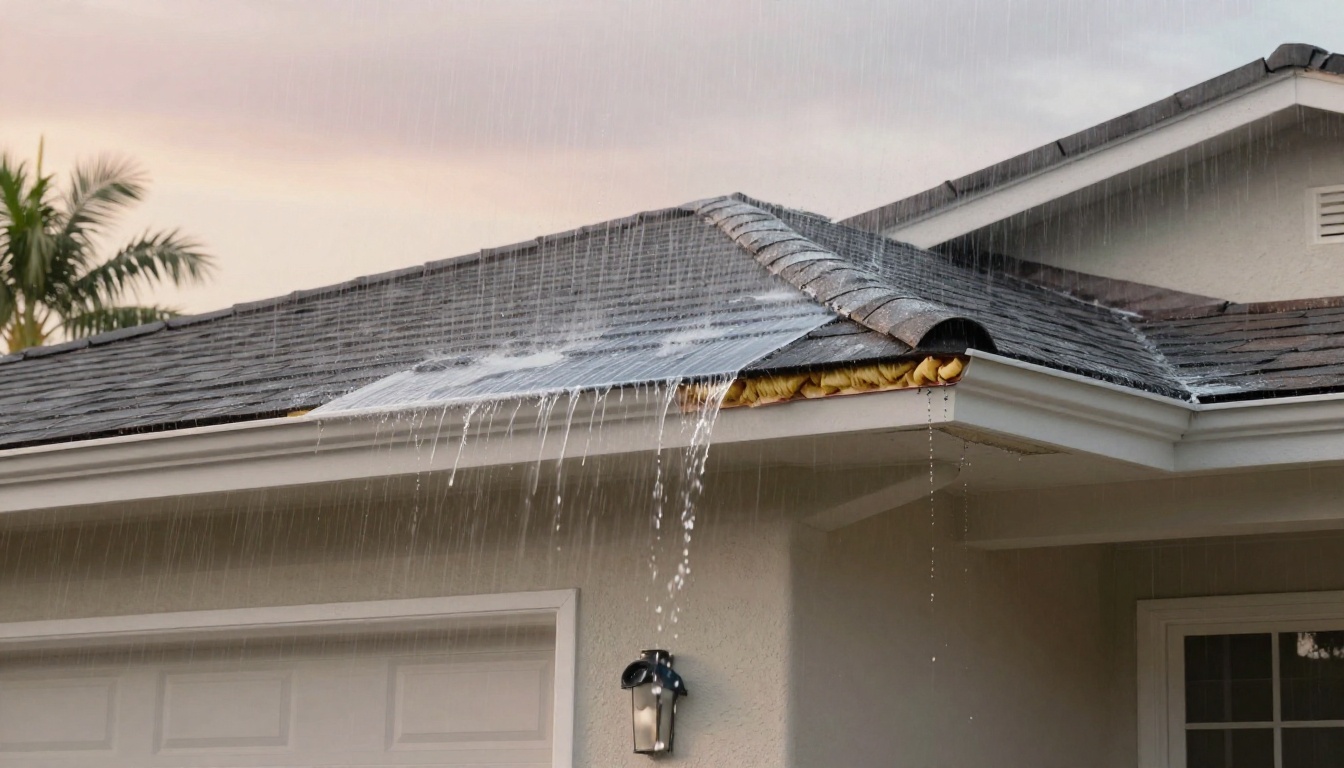
You see a brown ring on the ceiling, then the next afternoon storm hits and it starts dripping. The frustrating part is this: the drip spot is often not under the roof opening.
In Cape Coral, wind-driven rain can push water sideways, then gravity and framing guide it like a gutter you can’t see. The good news is that careful roof leak detection follows a repeatable process. You don’t need to guess, you need to track.
Why the drip isn’t under the hole in Cape Coral homes
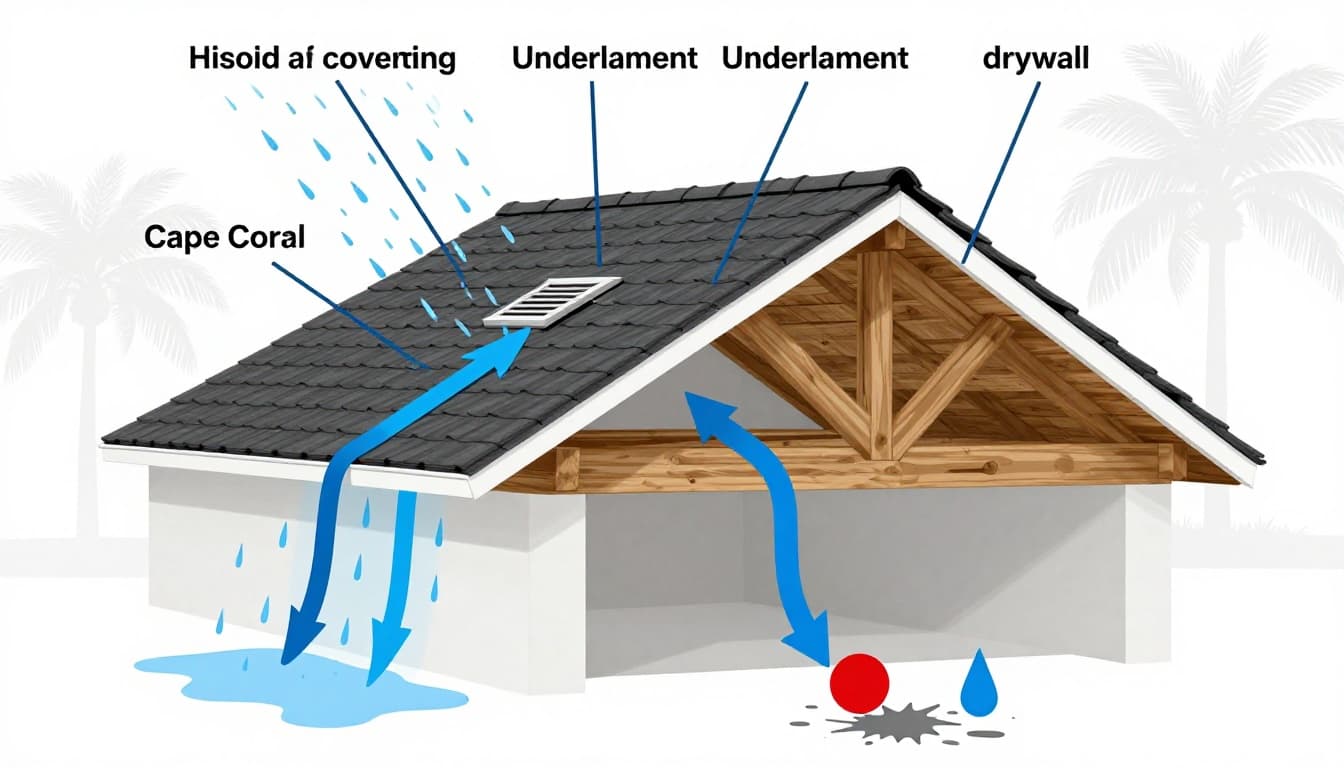 Diagram of how water can enter at one point and drip in a different room, created with AI.
Water is sneaky. Once it gets under the roof covering, it can ride along the underside of the decking, follow a rafter, soak insulation, and finally show up at the weakest spot in the drywall. That weak spot might be a seam, a light fixture, or a place where the ceiling has been patched before.
Cape Coral’s weather adds two twists. First, heavy summer downpours can overload small defects fast. Second, wind-driven rain can force water uphill at laps and flashings that look fine in calm rain. So the entry point might be above the stain, but it might also be to the side of it, or even above an adjacent room.
Think of your attic framing like a set of railroad tracks. Water tends to follow straight lines: truss chords, rafters, and roof decking seams. It can also pool on top of insulation until it finds a low point, then dump all at once.
Before you chase the roof, rule out these look-alikes
Not every ceiling stain is a roof problem. A fast check can save hours and keep you from climbing when you don’t need to.
- HVAC and condensation : Look for wet ductwork, a sweating air handler, a clogged drain line, or water near the return. Condensation can mimic a roof leak, especially in humid months.
- Plumbing leaks : Check bathrooms above, refrigerator lines, and any pipes that run through the attic. A slow pinhole can create the same brown ring.
- Window or wall intrusion : Wind-driven rain can enter around windows or stucco cracks and travel to a ceiling edge.
If the stain grows only during storms (not when the AC runs all day), you’re more likely dealing with the roof.
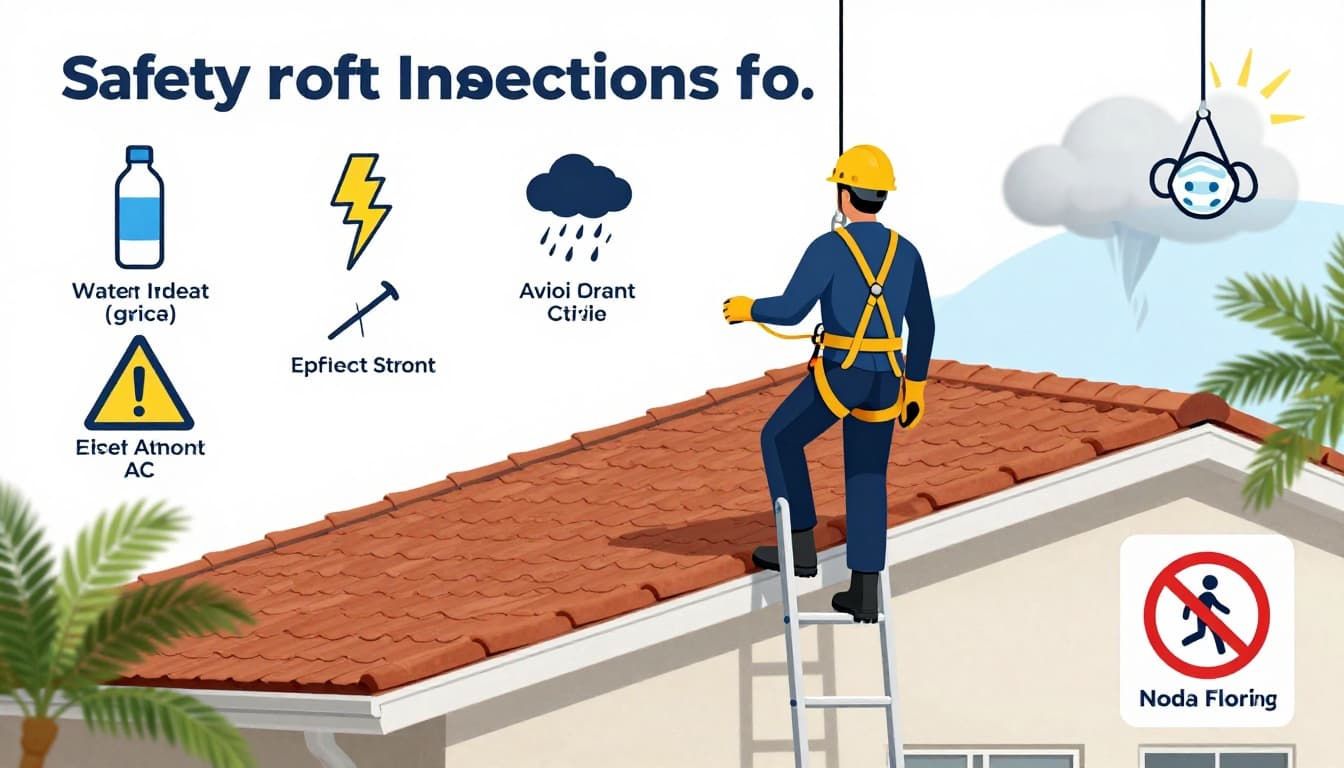
Safety and prep before any roof inspection
 Safety reminders for checking a roof in hot, storm-prone conditions, created with AI.
Start inside whenever you can. Attics are hot, and roofs are hotter. In Cape Coral, the heat index can climb quickly, and afternoon storms can build fast. If you hear thunder, stop. Lightning and ladders don’t mix.
Basic safety rules matter more than tools:
- Wear long sleeves, gloves, and eye protection. Roofing nails and staples hide in insulation.
- Watch for electrical hazards. Wet wiring near a ceiling fixture can be dangerous. If water is near lights, turn off power to that circuit.
- Use a respirator or mask if you see moldy insulation or dark growth on framing.
- Avoid walking on a tile roof unless you’re trained. Tiles can crack under foot, and a small crack can become a leak later.
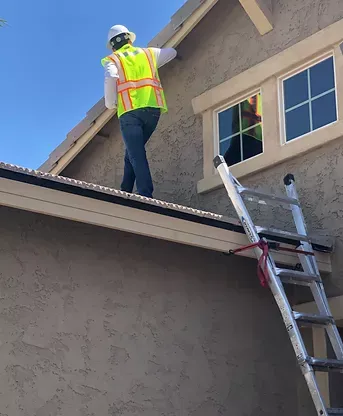
If your home has a steep pitch, a high second story, or a brittle surface, this is the point where calling a roofer is the smart move. A professional roof inspection costs less than a fall, or a broken tile spread across the yard.
Step-by-step roof leak detection, from stain to source
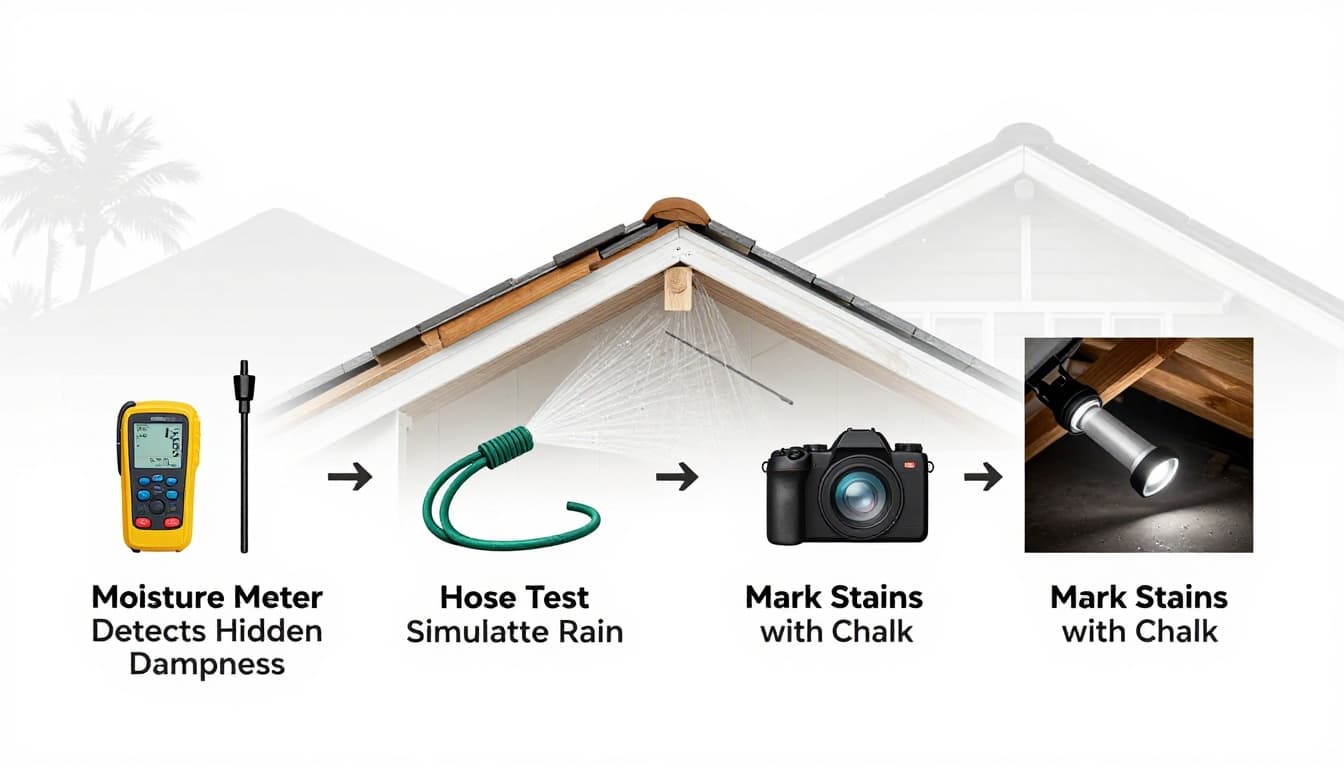 Common tools that help track moisture and document findings, created with AI.
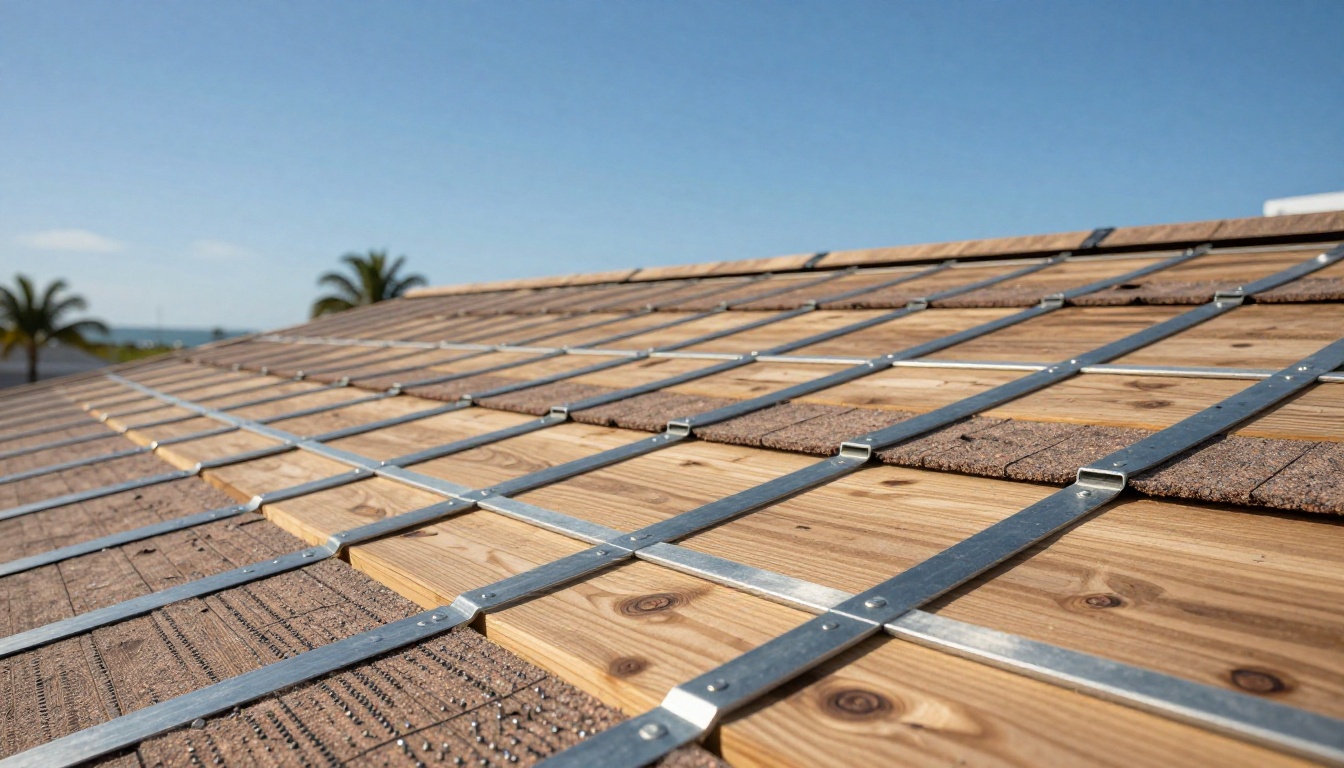
This method works whether you have a shingle roof , metal roof , stone coated steel roof , or a flat roof . The details change, but the logic doesn’t: document, trace moisture backward, then confirm with controlled testing.
-
Mark the interior damage clearly. Use painter’s tape or chalk to outline the stain and mark the center. Write the date beside it. If it spreads after the next storm, you’ll know by how much.
-
Document conditions for insurance and repairs. Take photos of the ceiling, any drips, and any wet flooring. Note the date, start and stop time of the rain, and whether it was windy. This helps later if you file a claim, and it helps your roofing company focus on the right side of the roof.
-
Get into the attic when it’s safe and bright. Bring a strong flashlight. Start above the stain, then expand your search upslope toward the ridge. Look for dark water tracks on wood, rusty nail tips, damp insulation, and shiny wet spots.
-
Use a moisture meter to map the wet path. Probe the drywall from the attic side if you can, and check rafters and decking seams. The highest moisture readings often point closer to the entry point, even when nothing is actively dripping.
-
Inspect common entry points before the open field. Most leaks start at transitions, not in the middle of a roof plane. In Cape Coral homes, pay close attention to:
- Pipe boots and vent penetrations
- Chimneys (if present), skylights, and wall step flashing
- Valleys where two roof sections meet
- Ridge vents and hip caps after high winds
- Eave edges where wind-driven rain can push under materials
Material matters here. A metal roof may leak at fasteners, seams, or flashing laps. A shingle roof often leaks at lifted shingles, exposed nails, or worn flashing. A stone coated steel roof can leak where panels interlock if flashing details were missed. A flat roof often fails at penetrations, edges, or low spots that hold water. On a commercial roof , check HVAC curbs, drains, and roof-to-wall transitions.
-
Confirm with a controlled hose test (two people works best). One person stays inside watching. The other runs a hose on the roof starting low, then moving up in small sections. Don’t blast water uphill. Let each area soak for 10 to 15 minutes before moving. Stop as soon as the inside person sees water, then mark that roof area with tape or chalk.
-
Don’t force a perfect diagnosis. Some leaks only show up in hard wind, which a hose can’t replicate. Others are underlayment failures that present like random drips. If you can’t confirm it safely, schedule a professional inspection.
After you think you found it: stop the water, then dry fast
Catch drips with a bucket, and protect floors with plastic sheeting. If water is pooling in a ceiling bubble, don’t poke it near lights. Turn off power first, then release it carefully into a container if you’re confident it’s safe.
Outside, a properly secured tarp can reduce damage, but tarping on steep roofs or tile can be risky. Many homeowners choose to have a roofer handle temporary protection, then plan the repair.
Drying matters. Wet drywall and insulation can grow mold in days. Run fans and a dehumidifier, and remove soaked insulation once the leak is controlled.
If your roof has repeated leaks, widespread brittle tiles, or large areas of worn underlayment, it may be time to discuss roof replacement instead of chasing new stains every storm.
Conclusion
A ceiling drip is a symptom, not a map pin. Careful roof leak detection means tracking water like a trail, marking what you see, and testing in controlled sections. If the roof is high, steep, or made of tile, don’t risk a fall or extra damage from walking. Schedule a professional roof inspection with a local roofing company so you can fix the source, dry the structure fast, and get back to hearing rain without bracing for the next drip.