
Tile Roof Underlayment in Southwest Florida, How to Tell It’s Failing Before Tiles Crack
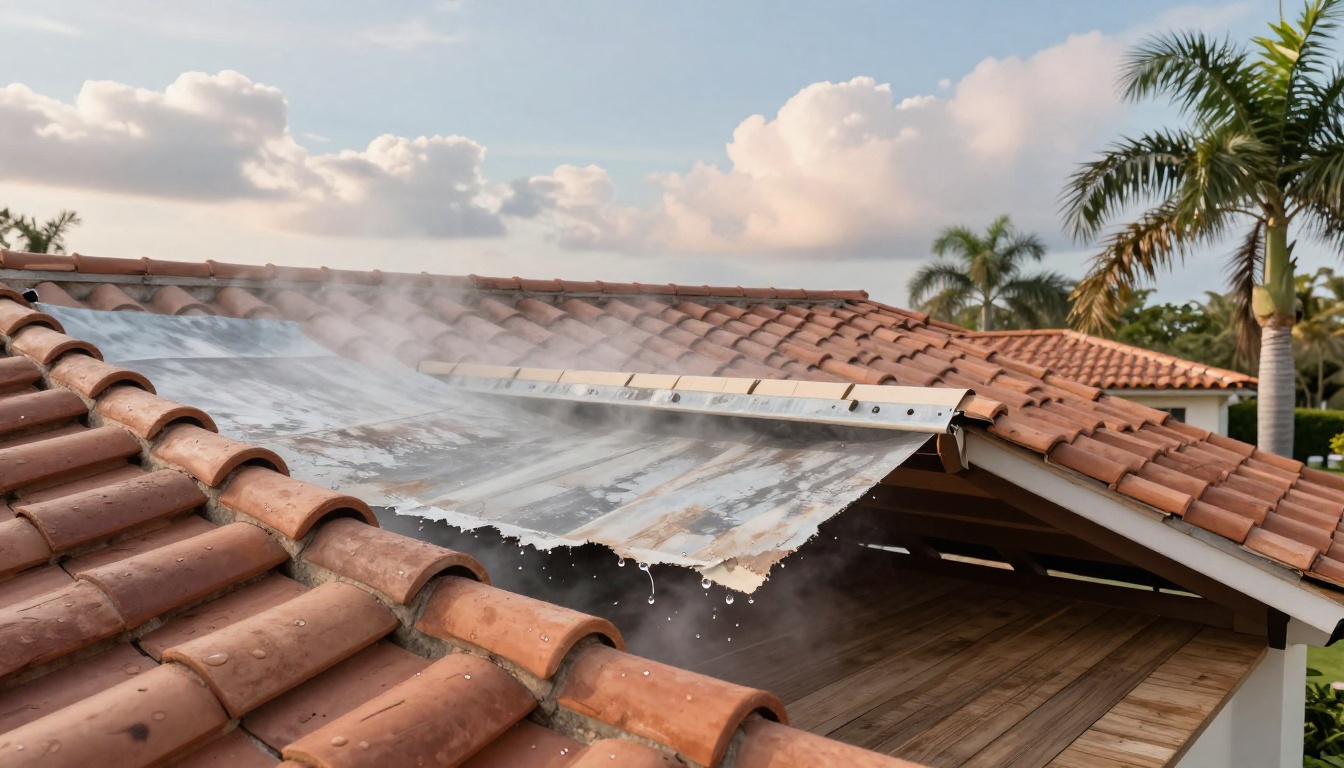
A tile roof can look solid from the curb while water is quietly working underneath. That’s because a tile roof underlayment does the real waterproofing. Tiles shed sun and wind, and they take the brunt of impacts, but they aren’t a sealed lid. Wind-driven rain can move under tiles, and once it reaches a worn underlayment, leaks start.
Southwest Florida makes this harder. Heat bakes materials, humidity feeds decay, and storm season tests every seam. In 2026, homeowners are also dealing with higher repair costs and longer scheduling windows, so catching underlayment problems early matters.
This guide shows what failing underlayment looks like before you see cracked tiles, and how to check for warning signs safely from the ground, in the attic, and inside your home.
Why underlayment fails first on Southwest Florida tile roofs
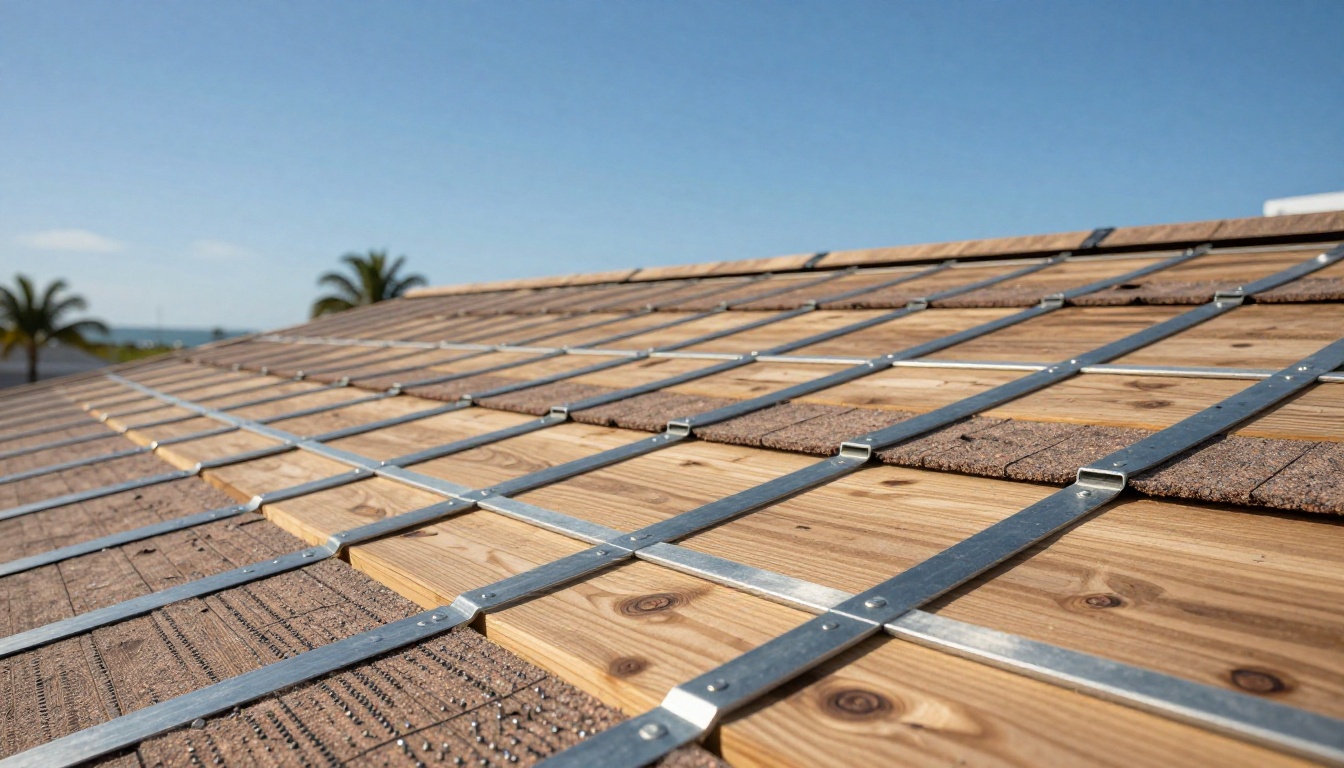
Think of tiles like a shield, and underlayment like the raincoat underneath. The shield may survive for decades, but the raincoat ages faster. Most tile systems rely on overlaps, channels, and gravity. Water still gets in during heavy storms, and the underlayment is the primary water barrier that keeps it from reaching the wood deck.
In Southwest Florida, underlayment breakdown tends to speed up for a few reasons:
Salt air and humid nights can keep the roof system damp longer than it should be. That moisture stresses fasteners, flashings, and the decking. UV exposure is another big one. Underlayment is supposed to be covered, but shifted tiles, broken pieces, or open edges can let sunlight hit it and make it brittle.
Storms don’t have to crack tiles to cause damage. Wind can lift and settle tiles, scuffing the surface beneath and pulling at fasteners. Valleys and penetrations (plumbing vents, skylights, chimneys) take the worst of it because water concentrates there. If flashing gaps open up, water follows the easiest path.
If you want a deeper explainer on how this hidden layer works in Florida conditions, see Tile roof underlayment basics in Florida. For code-related context before any repair or roof replacement, it also helps to review a plain-English summary like Florida roofing underlayment requirements (2025 update) , then confirm details with your local building department and your roofer.
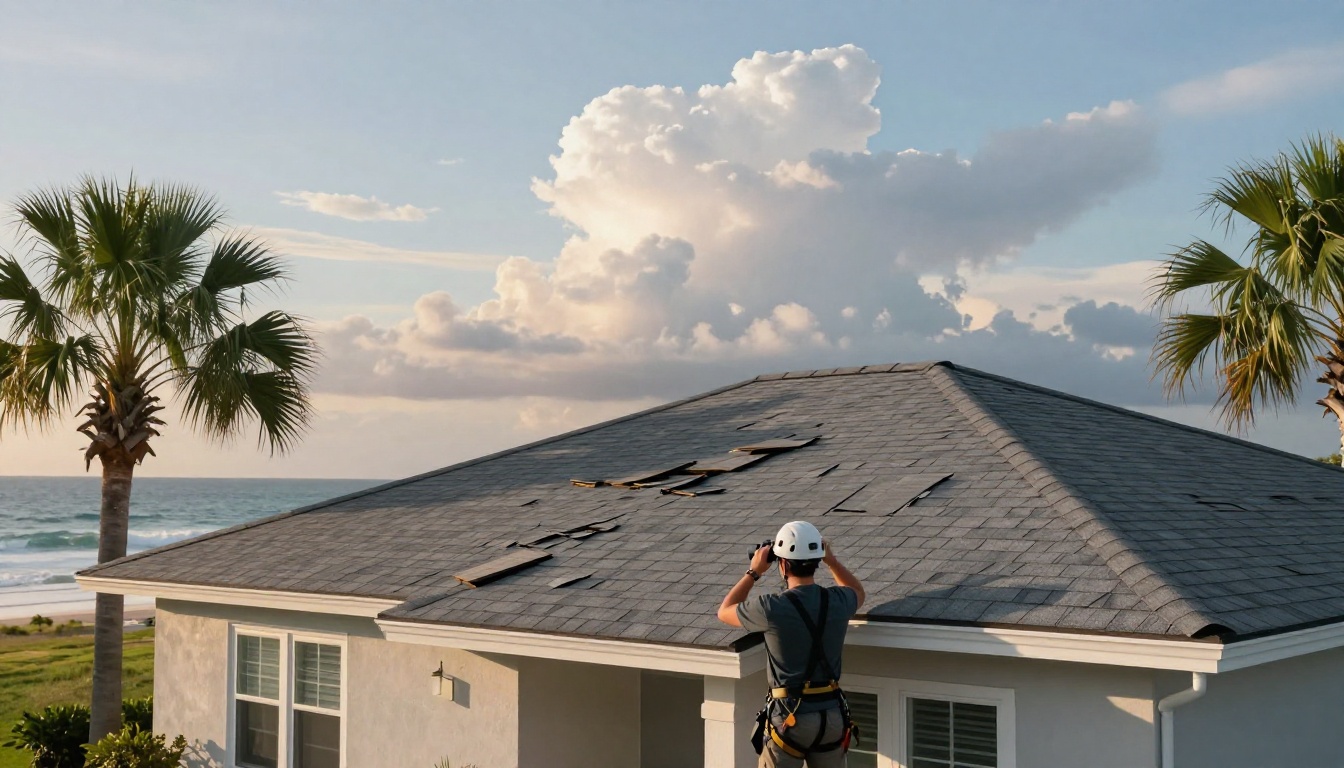
When underlayment starts failing, it often shows up indoors first. That’s why a good plan starts with a careful roof inspection that doesn’t involve walking on tile.
Step-by-step ways to spot failing underlayment (without walking on tile)
Tile is easy to crack under foot, and it can shift under weight. Leave rooftop walking to a trained roofer. Homeowners can still catch early clues with a three-zone check: ground view, interior ceilings, and attic.
1) Ground check (10 minutes, binoculars help)
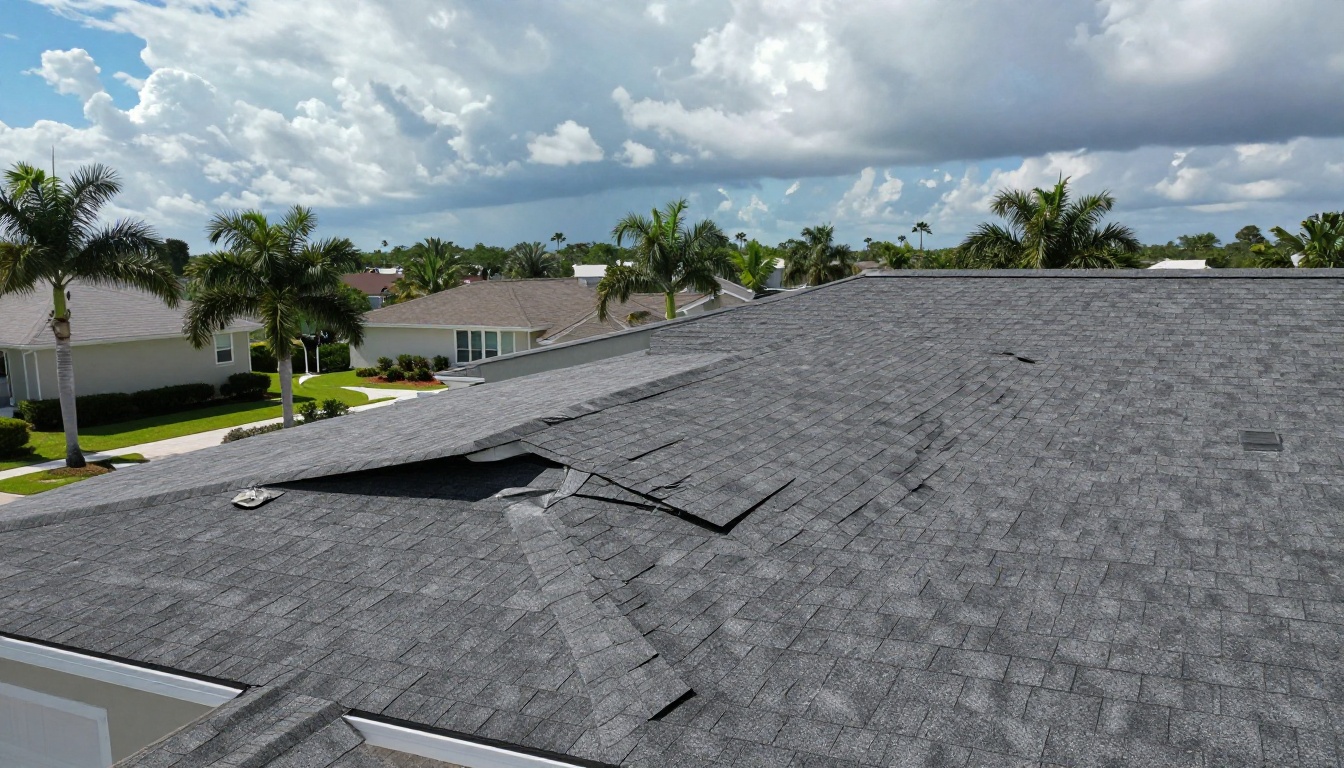
Start after a hard rain or the morning after. Look for tile movement, not just broken pieces. Scan ridges, hips, and valleys.
- Look for “ladder lines” of shifted tiles : a row that sits unevenly can signal movement below, or failing fasteners stressing the system.
- Check valleys and wall edges : stains, lifted metal, or heavy debris buildup can trap water where underlayment is most vulnerable.
- Watch for missing bird-stops or open eave gaps : wind-driven rain can get pushed upward under the first courses of tile.
- Note cracked mortar at ridge caps : it doesn’t prove underlayment failure, but it’s a common path for water entry during storms.
If you’re unsure what’s normal for tile in this region, this local overview of common tile roof repairs in Southwest Florida helps you compare typical wear versus urgent problems.
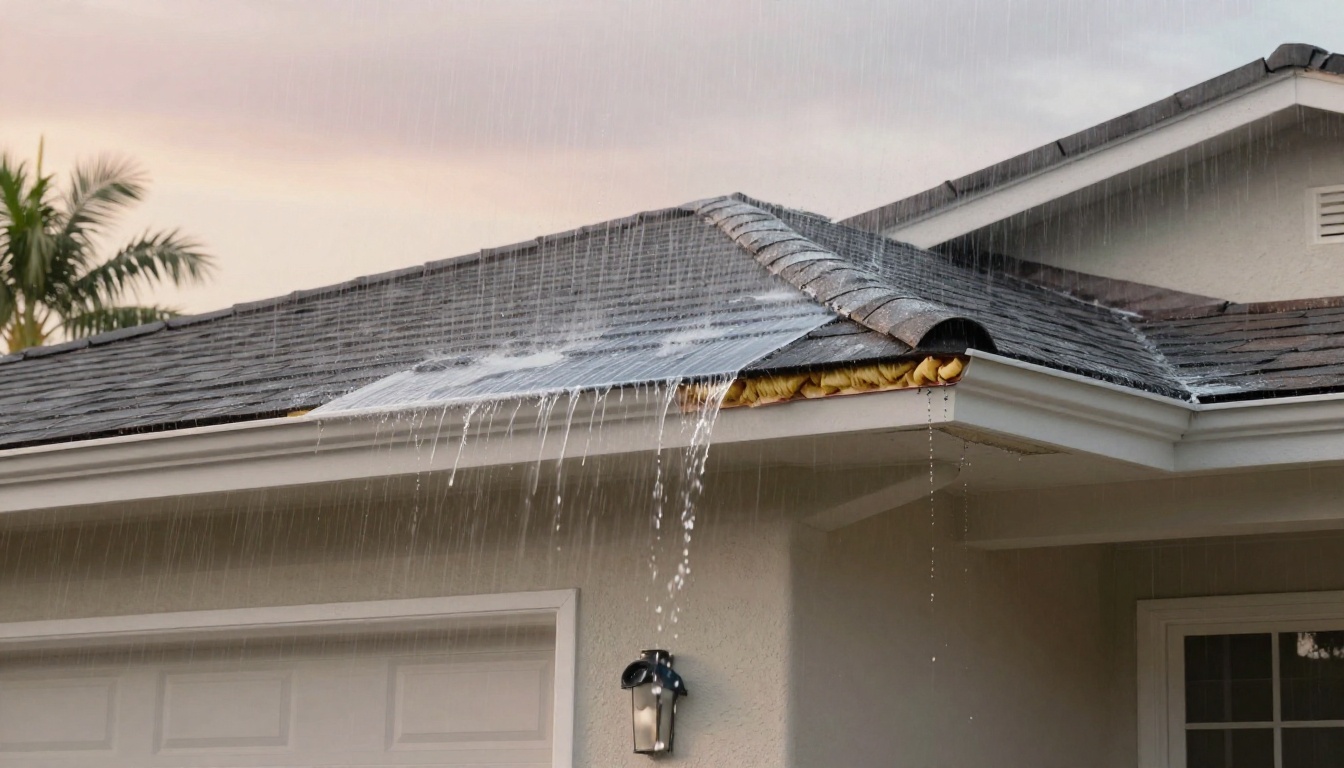
2) Interior ceilings and walls (the “early leak” map)
Underlayment leaks often show as small, faint stains that grow slowly, then explode during a storm. Check these areas in daylight:
Ceiling corners, around recessed lights, above windows, and near exterior walls. Also look at baseboards on outside walls. Bubbling paint and soft drywall are water clues, even if they look minor.
A simple habit helps: take photos with a date stamp (or include that day’s newspaper in the frame) and keep a folder. Documentation is useful for maintenance planning, and it can support a claim if your policy covers storm-related damage, without making any promises about outcomes.
3) Attic check (safe, from the framing)
Only go into the attic if you can move safely and avoid stepping on drywall. Use a bright flashlight. Don’t touch wiring.
Look for darkened wood, white or black spotting, damp insulation, rusty nail heads, and water trails on rafters. Underlayment failure commonly shows as staining that starts near valleys or penetrations , then runs down framing members. If you see daylight at a vent pipe or along a valley area, treat it as urgent.
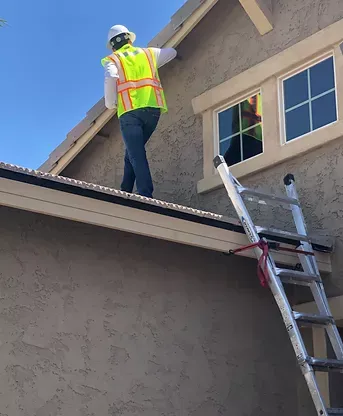
If you’d rather have a pro document it properly, schedule a professional roof inspection in Cape Coral and ask for photos of flashings, valleys, and any tile displacement zones.
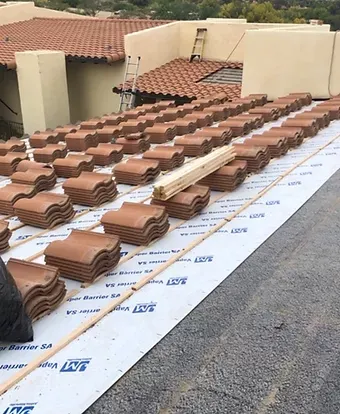
Underlayment types for tile roofs, what fails, and when it’s time to act
Underlayment choice matters more in Southwest Florida than many homeowners realize. Not every product handles heat, humidity, and storm cycles the same way. The right option also depends on roof slope, geometry, and how the tile is attached.
Here’s a practical comparison for tile roofs in this climate:
| Underlayment type | Pros | Cons | Common failure signs | SWFL suitability |
|---|---|---|---|---|
| Asphalt-saturated felt | Lower cost, familiar to many crews | Can wrinkle or dry out over time, less tolerant of long heat exposure | Brittle edges at eaves, tearing around fasteners, “paper” debris in gutters | Fair for short-term, less ideal for long service life |
| Synthetic underlayment | Lightweight, stronger than felt, better tear resistance | Quality varies by brand, needs correct fastening and laps | Flapping at edges, fastener pull-through marks, leaks at seams if lapped wrong | Good when installed to spec and well detailed |
| Self-adhered (peel-and-stick) membrane | Seals around nails, strong secondary barrier, good for complex details | Higher cost, surface prep matters, repairs can be more involved | Blistering, delamination at edges, leaks at transitions if poorly detailed | Excellent for high-exposure zones, common choice for storm resilience |
No table can replace manufacturer specs. If you’re weighing options ahead of a roof replacement, it helps to read a current, homeowner-focused summary like Florida roof replacement building codes (2026 guide) , then have your roofing company confirm what applies to your exact home and permitting office.
Red flags that shouldn’t wait
Some conditions suggest active water entry or system instability. Call a roofer quickly if you notice:
- Active leaks (dripping, wet insulation, or fast-growing ceiling stains)
- Widespread tile movement (multiple areas of shifted or “hollow” tiles)
- Rusted fasteners or visible corrosion at flashings and drip edges
- Deteriorated valleys or flashings (open seams, lifted metal, heavy staining)
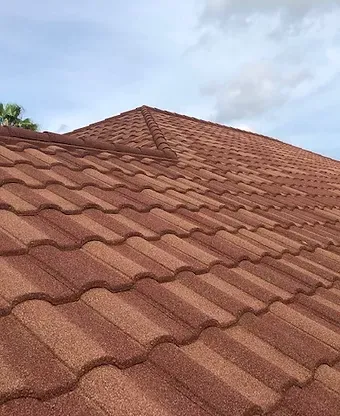
If your roof is nearing the end of its service life, you may be comparing systems. A metal roof, shingle roof, stone coated steel roof, flat roof, or commercial roof each handles water and wind differently, but they all rely on correct underlayment and flashing details. For homeowners trying to plan the timeline and steps, this roof replacement process in Southwest Florida is a helpful overview.
Conclusion
Tiles can hide trouble, but underlayment can’t hide it forever. If you spot stains indoors, damp attic framing, or tile movement from the ground, treat it as a sign your tile roof underlayment may be breaking down.
Document what you see with dated photos, avoid walking on tile, and bring in a qualified roofing company to confirm the cause. Catching underlayment failure early often means smaller repairs, fewer interior repairs, and a clearer plan for whatever comes next.