
Secondary Water Barrier in Southwest Florida (2026), What It Is, How It’s Installed, and How to Tell If You Have It
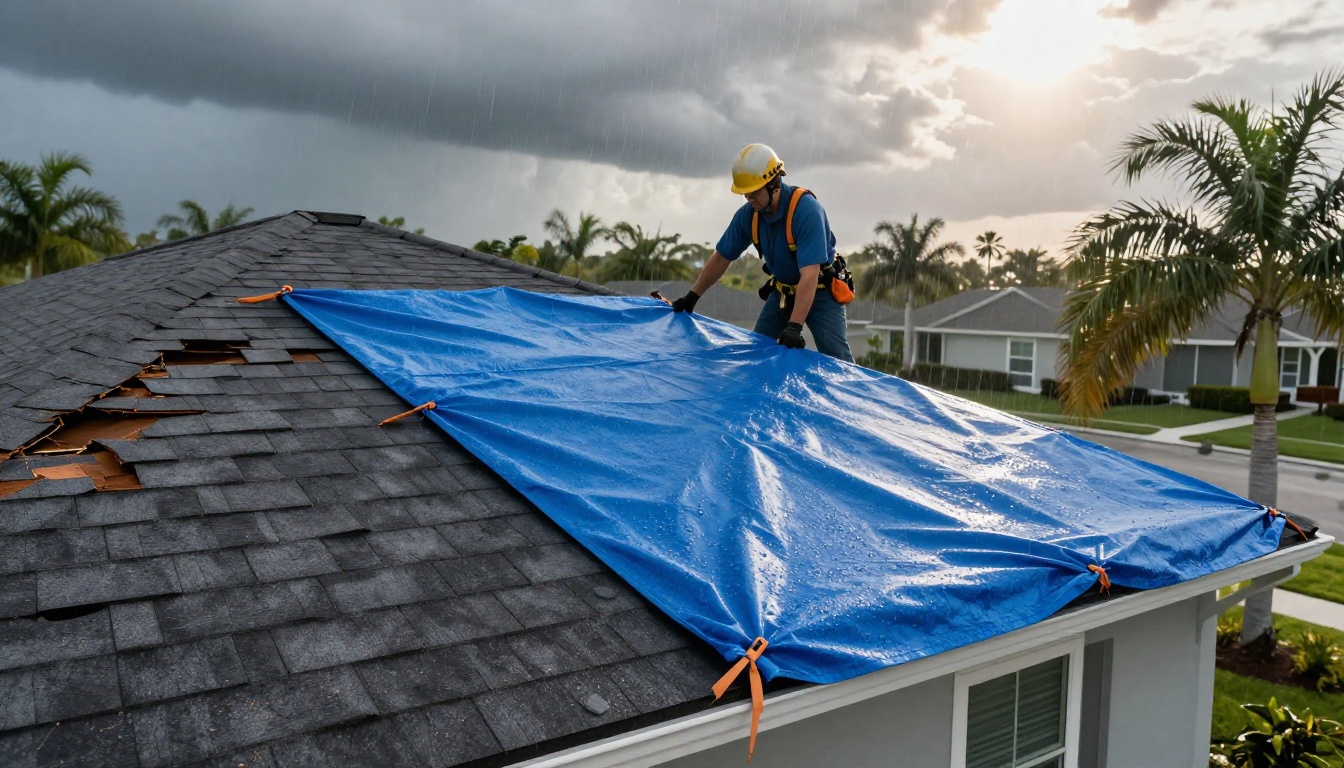
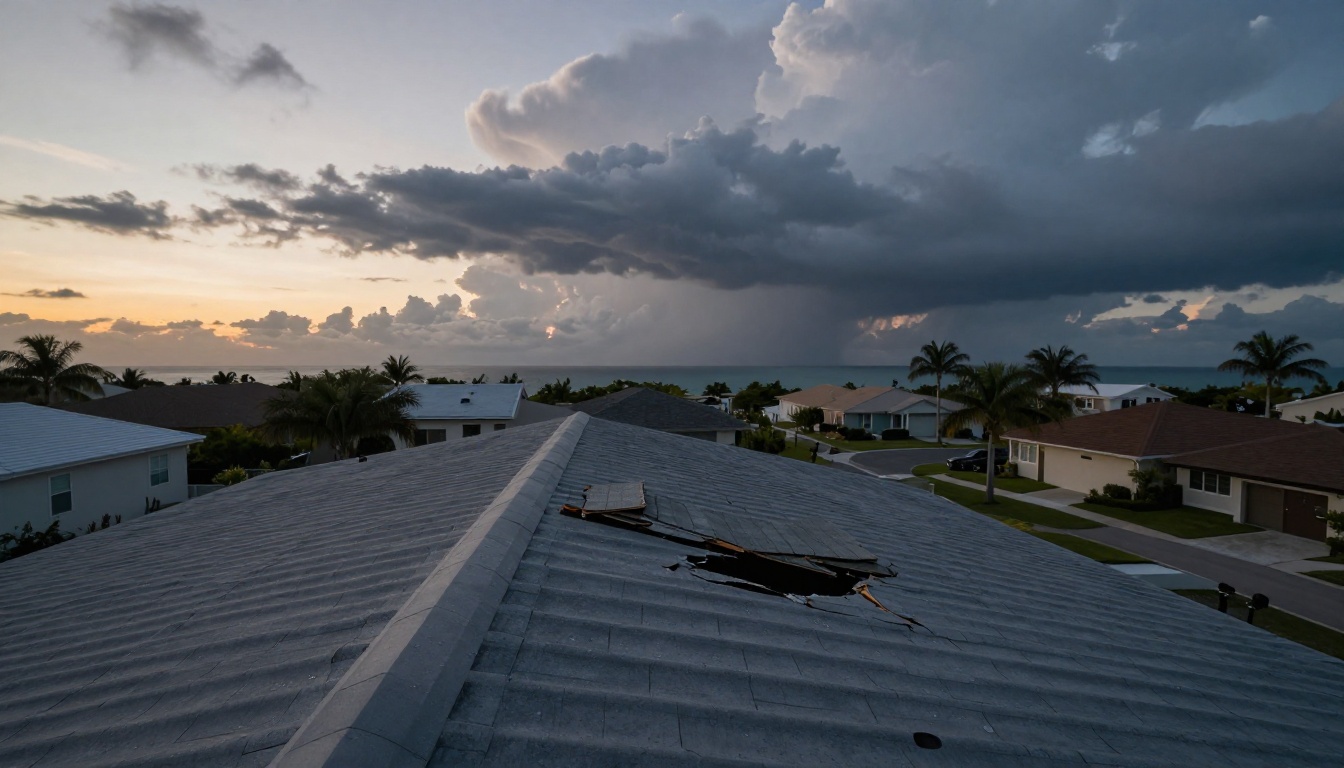
In Southwest Florida, wind-driven rain doesn’t “fall” so much as it attacks from the side . When a storm starts peeling back shingles or lifting metal panels, water looks for the fastest path into your attic, insulation, and ceilings.
That’s where a secondary water barrier comes in. It’s a back-up layer designed to keep water out even if the main roof covering gets damaged. If you’re in Lee, Collier, Charlotte, Sarasota, Hendry, or Glades County, understanding this detail can help you make smarter choices during a roof inspection or roof replacement, and it can also help when an insurer asks, “Do you have a secondary water barrier?”
What a secondary water barrier is (and what it isn’t)
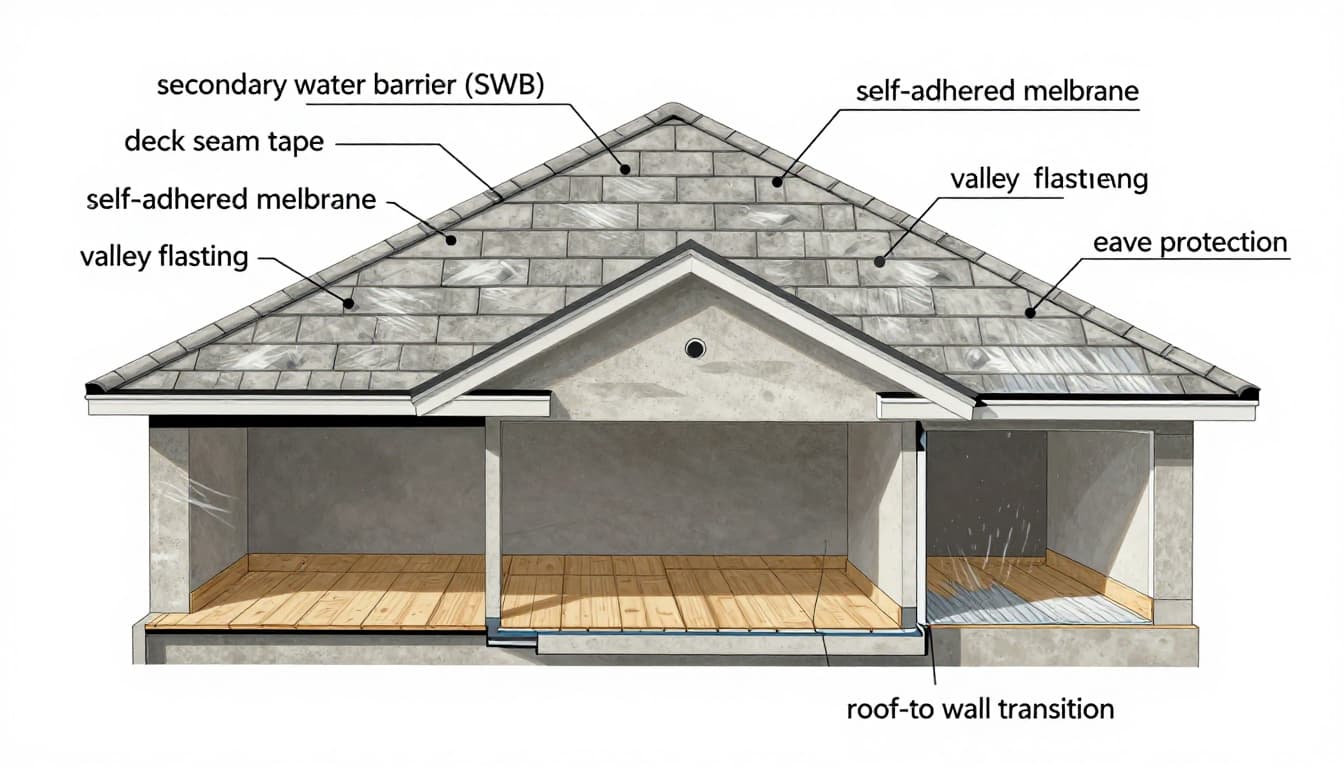 Cross-section showing where a secondary water barrier sits in the roof assembly, created with AI.
A secondary water barrier (often shortened to SWB) is a water-resistant layer installed at the roof deck level so the home has protection if the primary roof system fails during high wind. Think of it like a raincoat under your clothes. If the outer layer gets torn, the backup layer buys you time and reduces interior damage.
Here’s the key point: SWB isn’t the same as “underlayment” in the everyday sense. Many underlayments are designed to shed water during construction and handle minor moisture under normal conditions. A true secondary water barrier is installed and detailed so it can resist wind-driven rain when shingles, tiles, or panels are missing.
Common misconceptions that trip homeowners up:
- A SWB isn’t roof cement or a patch job, it’s a planned system.
- A SWB isn’t guaranteed just because you have a tile roof. A tile roof relies heavily on the underlayment, and the details matter.
- A SWB doesn’t fix bad flashing. Water still gets in through unsealed penetrations , wall transitions, and valleys if the details are wrong.
Where SWB often matters most is at the weak points: valleys, roof-to-wall intersections, around skylights, plumbing vents, and anywhere different roof planes meet. Poor adhesion, sloppy laps, and unsealed fasteners are common failure points, even with good materials.
2026 Florida context: code, permits, and insurance verification
Florida roofing rules change over time, and enforcement can vary by city and county. As of 2026, contractors are still working under the Florida Building Code cycle that includes the Florida Building Code 8th Edition (2023) , with local amendments and product-approval requirements. For code background, see the Florida Roofing and Sheet Metal Association’s notice on the 2023 Florida Building Code effective date.
In practical terms, SWB most often comes up when you pull a permit for a roof replacement (or a full tear-off re-roof). Building departments may require specific SWB methods depending on roof type, slope, and jurisdiction. You don’t need to memorize code sections, but you do want the permit scope and the inspection record to match what was installed.
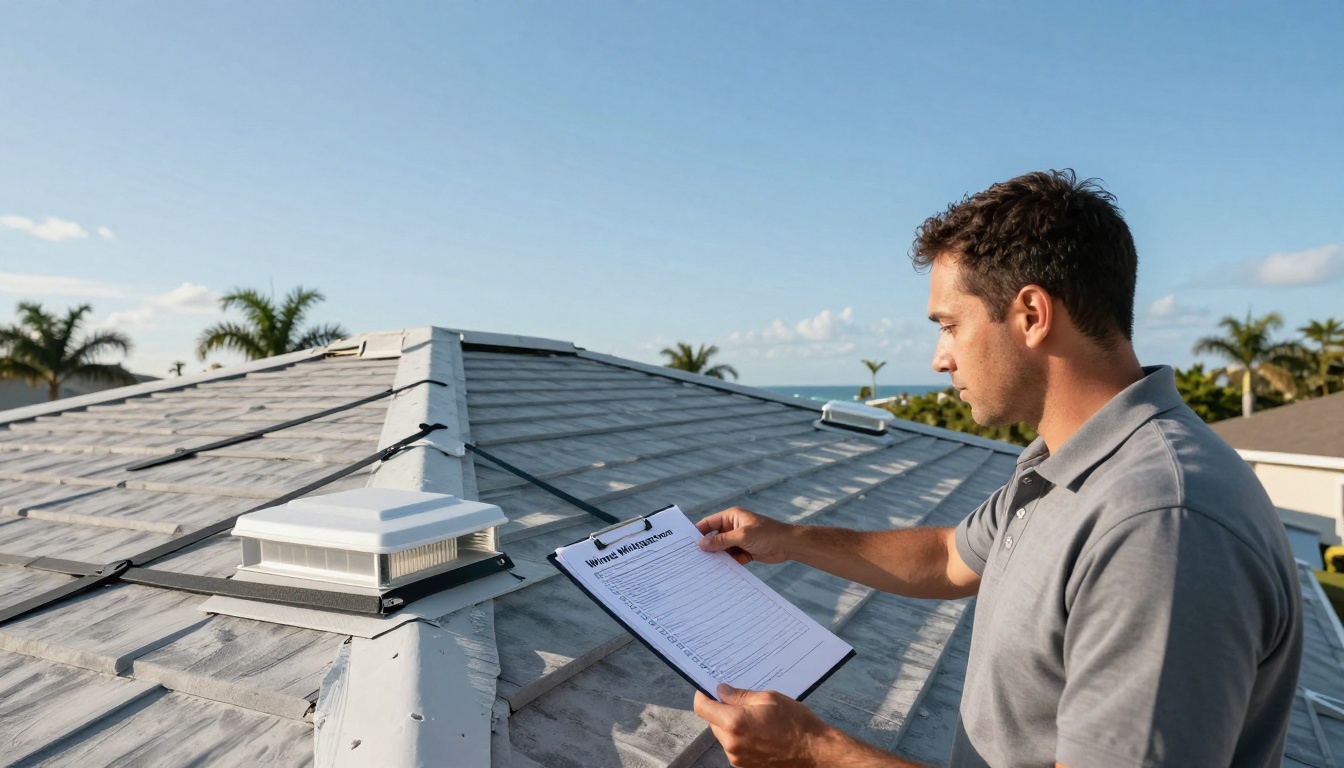
Insurance is the second driver. Many carriers use wind mitigation inspections to confirm features that may affect premium credits or underwriting decisions. The Florida Office of Insurance Regulation has a consumer hub that explains the process and what documentation helps: Florida OIR wind mitigation resources.
A helpful rule of thumb: if your roof is newer but you can’t prove the SWB method, you may not get credit for it. Verification is paperwork plus photos, not just a contractor’s verbal “yes.”
How a secondary water barrier is installed (by method and roof type)
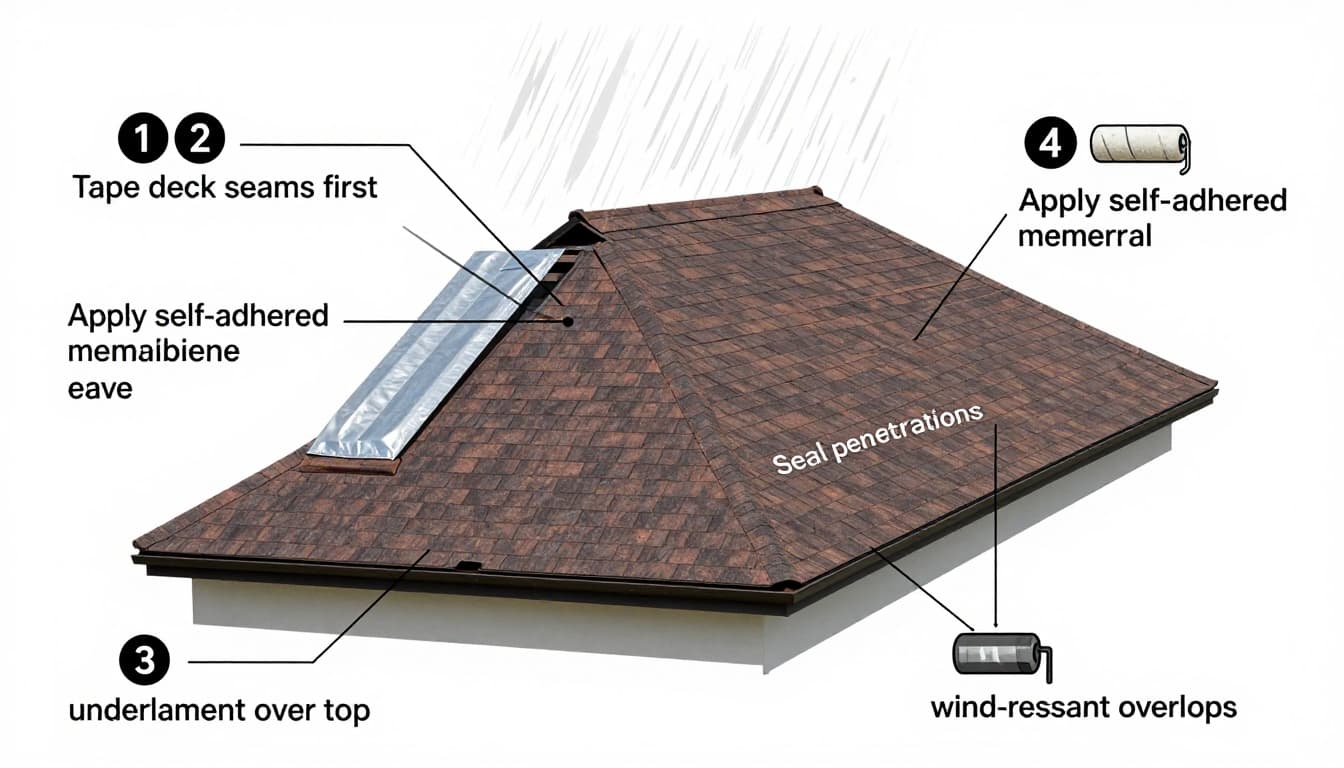 Step-by-step concept for SWB installation on a sloped roof deck, created with AI.
A good roofer treats SWB like a system, not a single product. The roof deck must be sound, dry, and properly fastened before any barrier goes down. After that, the method depends on the roof covering and the performance goal.
Method 1: Full self-adhered membrane (peel-and-stick) over the deck
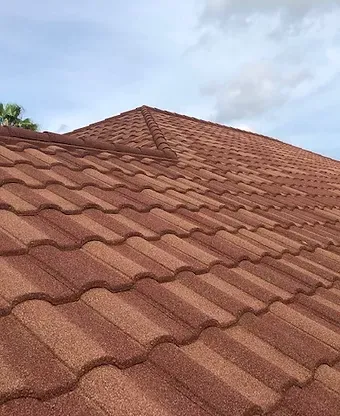
Often used under a shingle roof, standing seam metal roof, or stone coated steel roof when the goal is maximum water resistance and easier insurance verification.
- Prep the deck : replace damaged plywood/OSB, re-nail as needed, sweep clean and dry.
- Prime if required : some membranes need primer for proper bond.
- Install membrane : roll out sheets from eave upward, use correct overlaps, roll it tight to avoid fishmouths.
- Detail the trouble spots : seal around penetrations, reinforce valleys, and integrate properly with drip edge and flashing.
Pros:
strong water protection, fewer “paths” for water at deck joints.
Cons:
adhesion failures happen if the deck is dusty, damp, or too hot; bad detailing at penetrations can still leak.
Method 2: Sealed deck joints (tape or foam) plus underlayment
This approach focuses on sealing deck seams so water can’t enter between sheathing panels if the covering blows off.
- Prep and dry the deck .
- Seal all seams : apply approved seam tape or adhesive foam at panel joints.
- Install underlayment : synthetic underlayment or other specified layers, shingled correctly.
- Flash and seal penetrations : pipe boots, vent flashings, and wall transitions must tie into the water-shedding direction.
Pros:
targets the most common deck leak path (panel joints).
Cons:
tape can lift if the deck is dirty or if it’s not rolled, valleys and transitions still need extra protection.
Method 3: Hybrid SWB (membrane at critical zones)
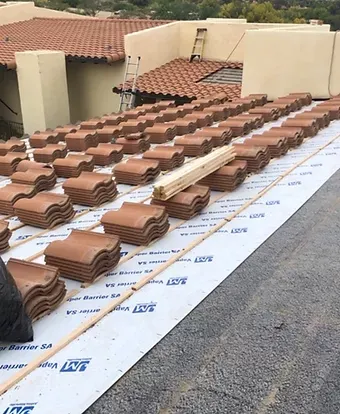
Common under tile roof systems and in areas with lots of valleys.
- Seal deck joints where required by the plan.
- Apply self-adhered membrane at eaves, valleys, roof-to-wall transitions, and around penetrations.
- Install the primary underlayment across the field.
- Install the roof covering (tile, metal, shingles) with the correct fasteners and flashings.
This method recognizes reality: most water problems start at valleys, edges, and penetrations, not the middle of a field.
How to tell if you have a secondary water barrier (without guessing)
The only sure way to confirm a secondary water barrier is evidence from the install, not a glance from the driveway. Start with documents, then verify with a professional inspection.
Documentation to request from your roofing company:
- Roofing permit and final inspection sign-off (keep a copy, don’t rely on “the contractor has it”)
- A labeled inspection report and photo set showing the SWB before the roof covering went on
- Product data sheets for the membrane, seam tape, and underlayment, plus Florida Product Approval info if applicable
- A written scope showing the SWB method (full peel-and-stick, sealed seams, or hybrid)
If you’re unsure what inspections apply, your county’s process can help frame the conversation. Lee County publishes a practical overview here: Lee County inspections FAQ.
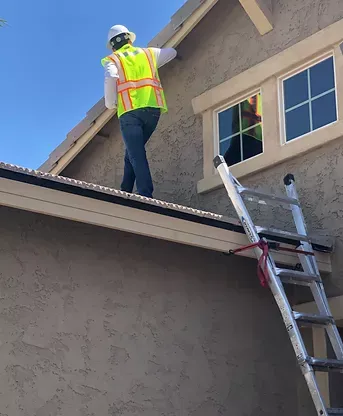
A roof inspection can also spot clues like underlayment type at the drip edge, membrane in valleys (when visible), and interior staining patterns. If you want a professional to document what can be verified safely, start with Cape Coral roof inspection services.
Safety note: don’t climb onto a roof or crawl through a tight attic if you’re not trained. Attics in Southwest Florida can hide nails, wiring hazards, heat stress risks, and weak ceiling drywall.
Homeowner checklist (quick, practical)
- Confirm you have a permit number for any reroof work.
- Ask for pre-cover photos showing seams, valleys, and penetrations sealed.
- Verify the SWB method matches your roof type (shingle roof, metal roof, tile roof, flat roof).
- If you have a flat roof or commercial roof area, confirm the drainage detailing and edge terminations.
- Keep records in one folder for insurance and resale.
Questions to ask your roofer before the job starts
- “Which SWB method are you installing, and where exactly?”
- “How are you sealing valleys, penetrations, and roof-to-wall transitions ?”
- “What underlayment is going over the SWB, and why?”
- “Will you provide staged photos and product sheets for verification?”
- “Who schedules inspections, and when do we pass final?”
If you’re planning a full tear-off and rebuild, a clear scope matters as much as materials. A good starting point is this homeowner’s guide to the roof replacement process.
Conclusion
A secondary water barrier is one of the few roof upgrades that’s invisible when done right, but priceless when the wind and rain hit hard. The best results come from clean deck prep, careful sealing at seams and penetrations, and solid documentation you can hand to an inspector or insurer. If your records are thin or your roof is due for a roof replacement, get it confirmed with a professional evaluation and make the SWB part of the plan, not an afterthought.