
How To Spot Bad Roof Flashing Around Vents In Florida
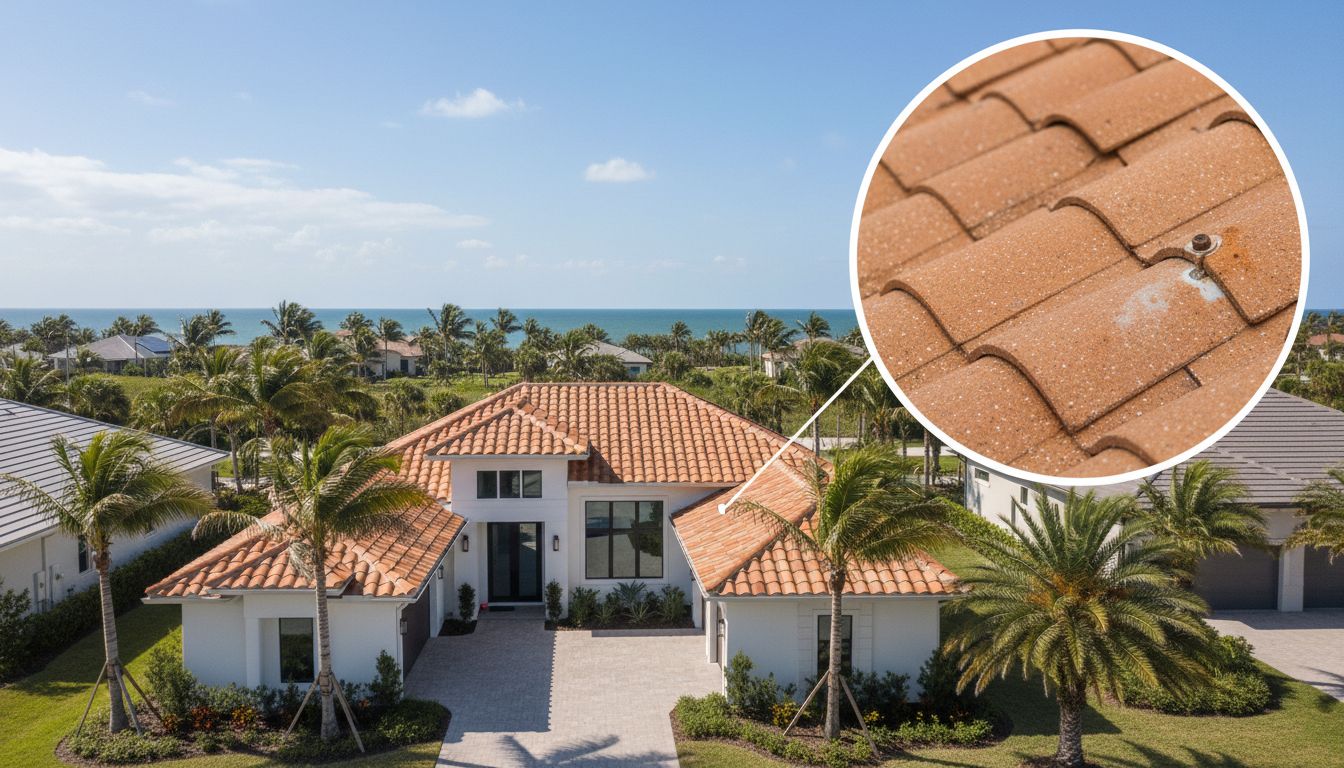
A roof can look fine from the curb and still leak at one small spot. In Florida, that spot is often roof vent flashing , the boot and metal base that seals around plumbing vents and other roof pipes.
Sun, salt air, heavy rain, and wind-driven rain all go after that seal. If you catch early warning signs, you can often avoid soaked insulation, stained ceilings, and bigger repairs later.
This guide shows what to look for, how to check safely without walking the roof, and when to treat it like an urgent leak risk.
Why roof vent flashing fails faster in Florida (and what "good" looks like)
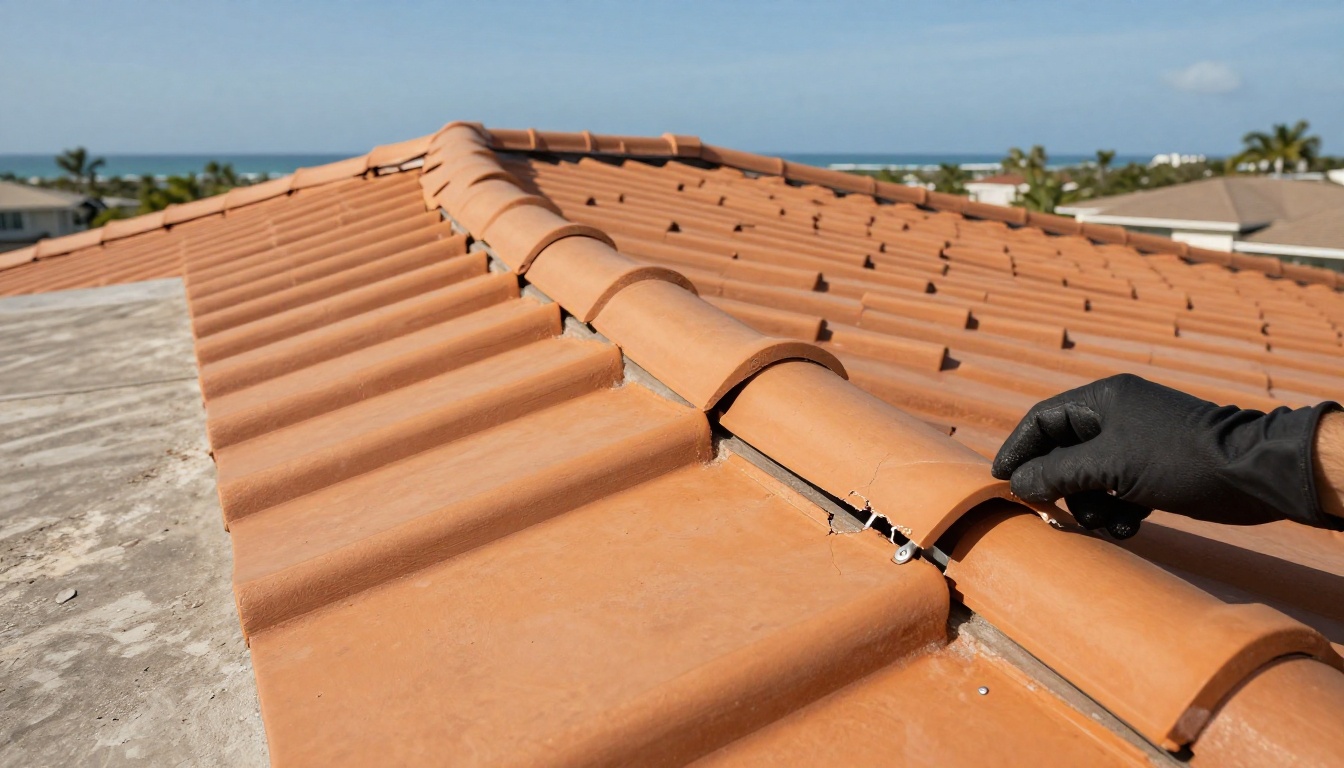
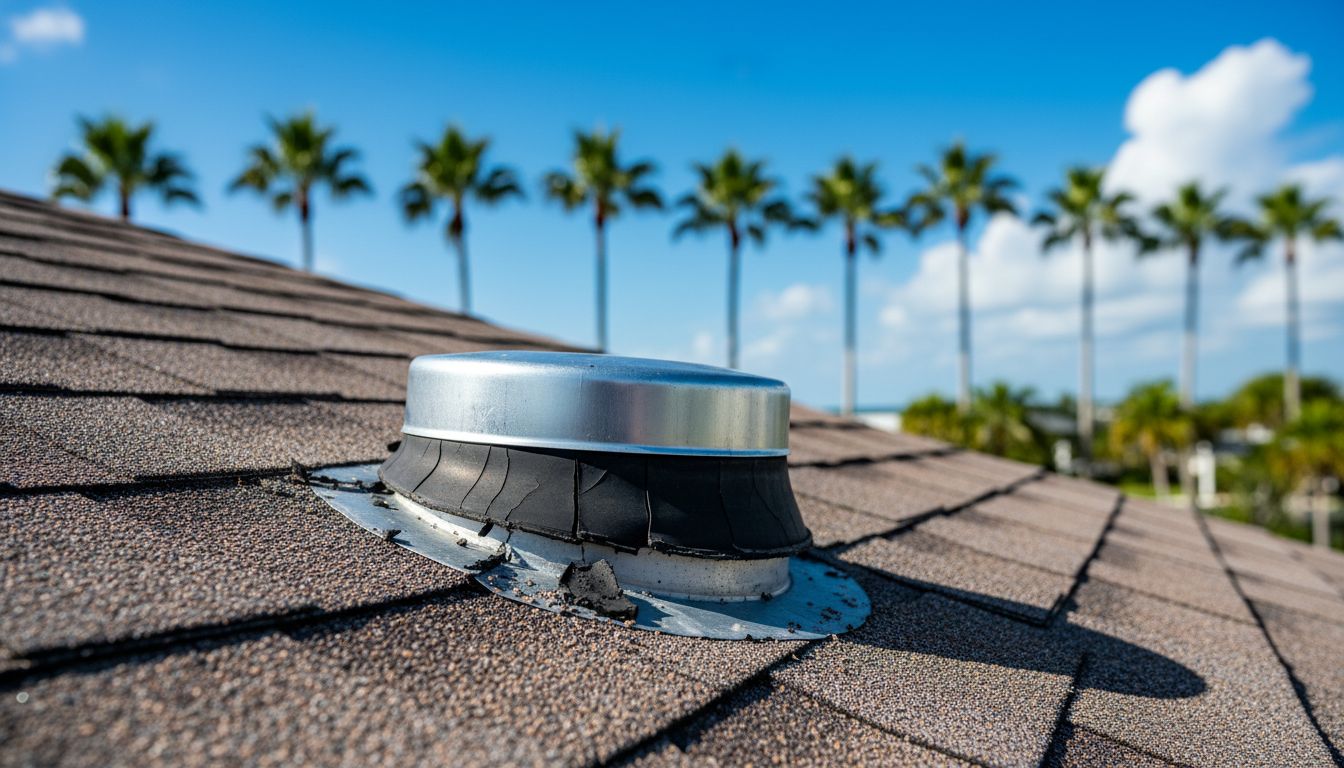
 Properly installed vent flashing with clean shingle overlap and a tight boot, created with AI.
Think of roof vent flashing like a raincoat cuff around a pipe. If the cuff cracks, lifts, or gets installed backward, water finds a path fast. Florida conditions speed that up.
UV exposure bakes rubber boots until they dry out and split. Coastal corrosion attacks low-grade metal and fasteners. Then summer storms add pressure, because wind can push rain sideways and upward under shingles. The Florida disaster guidance on roof and attic water intrusion explains why wind-driven rain can damage homes even without obvious "holes."
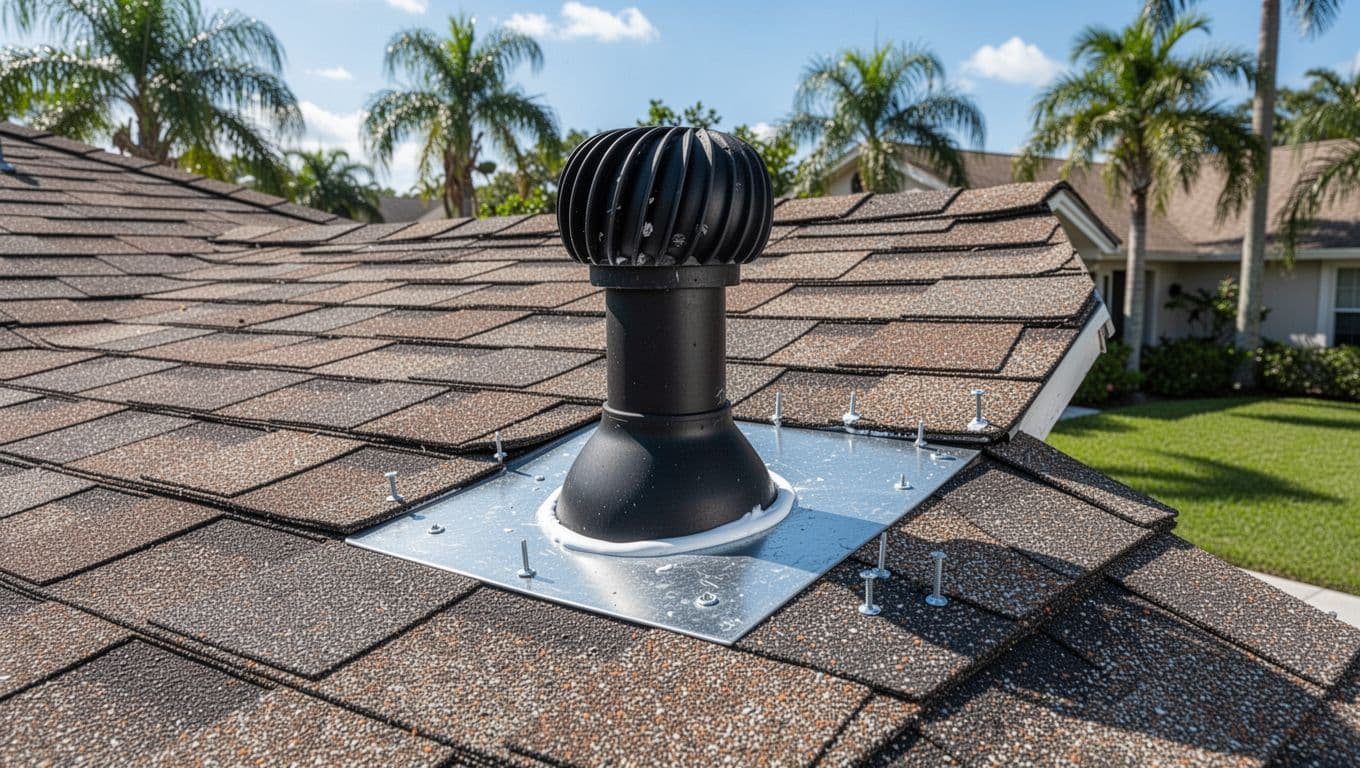
A proper install usually has these basics:
- The metal base sits flat, with the upper edge tucked under the course above, and the lower edge on top so water sheds downhill.
- The boot hugs the pipe with no gaps or tears.
- Fasteners are placed correctly and aren't left exposed.
- Sealant is used sparingly, as a small, clean bead where the boot meets the pipe or where the manufacturer specifies it.
That last point matters. A little sealant can be normal. A big glob of caulk is often a cover-up.
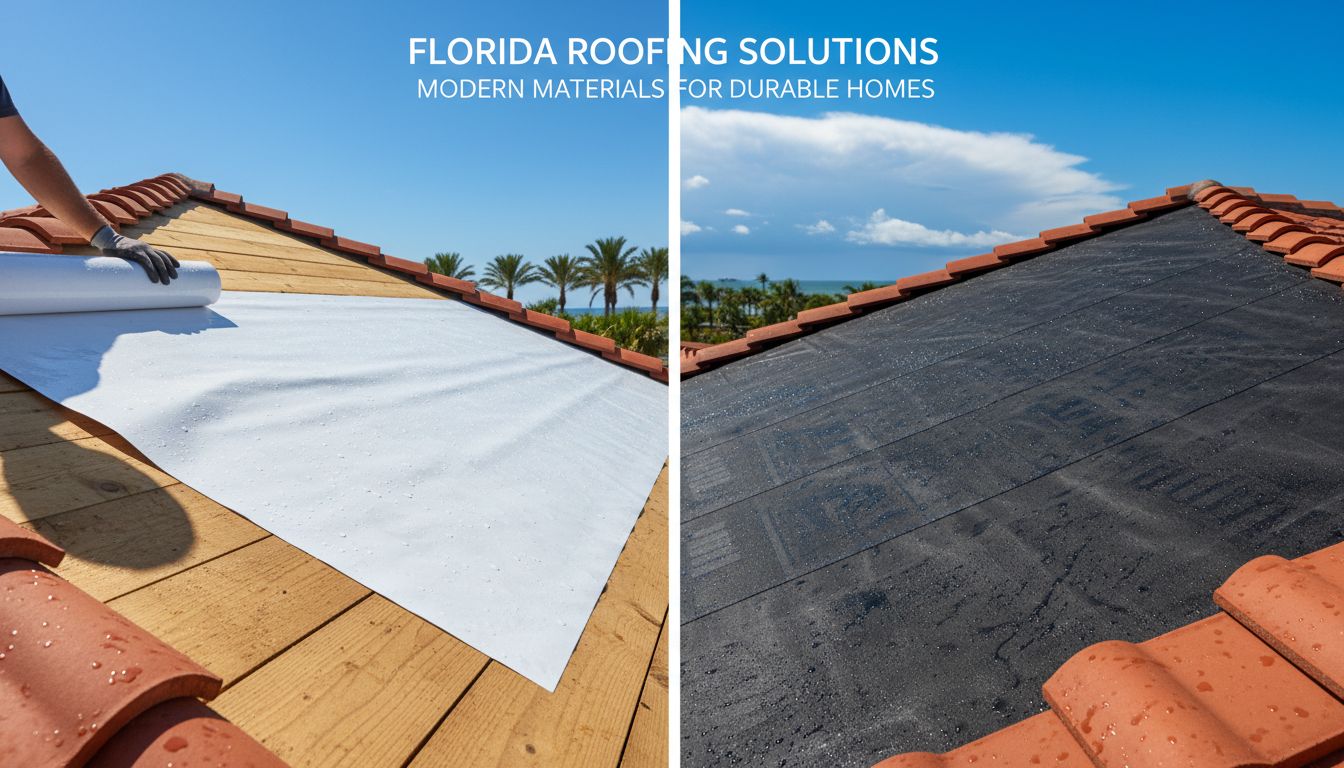
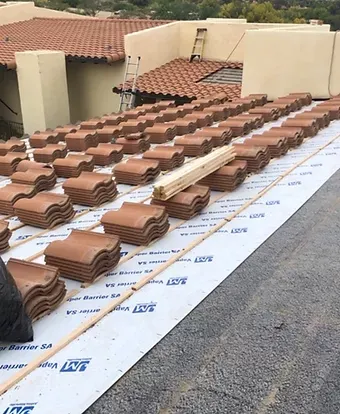
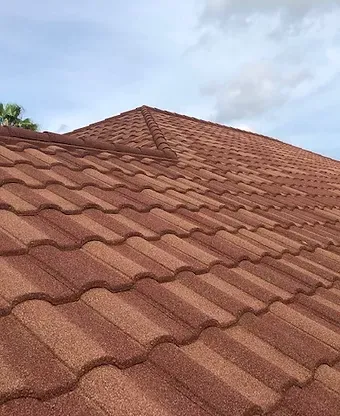
Different roof systems still rely on the same idea: water must lap over the layers below. On a shingle roof , that layering is shingles over flashing in the right spots. On a tile roof , the vent detail often uses specialized flashing pieces and underlayment integration, since water can travel under tiles. On a metal roof , pipe boots and closures must match the panel profile and allow for movement. With a stone coated steel roof , penetrations still need proper flashing kits and tight laps. For a flat roof or low-slope system, vents typically need a curb or welded boot detail, which is especially important on any commercial roof where ponding and long-term drainage issues can magnify small defects.
If you want a broader checklist for a full roof inspection , this Florida wind mitigation roof inspection guide is helpful for understanding what inspectors document in 2026.
A Florida-focused checklist of roof vent flashing red flags
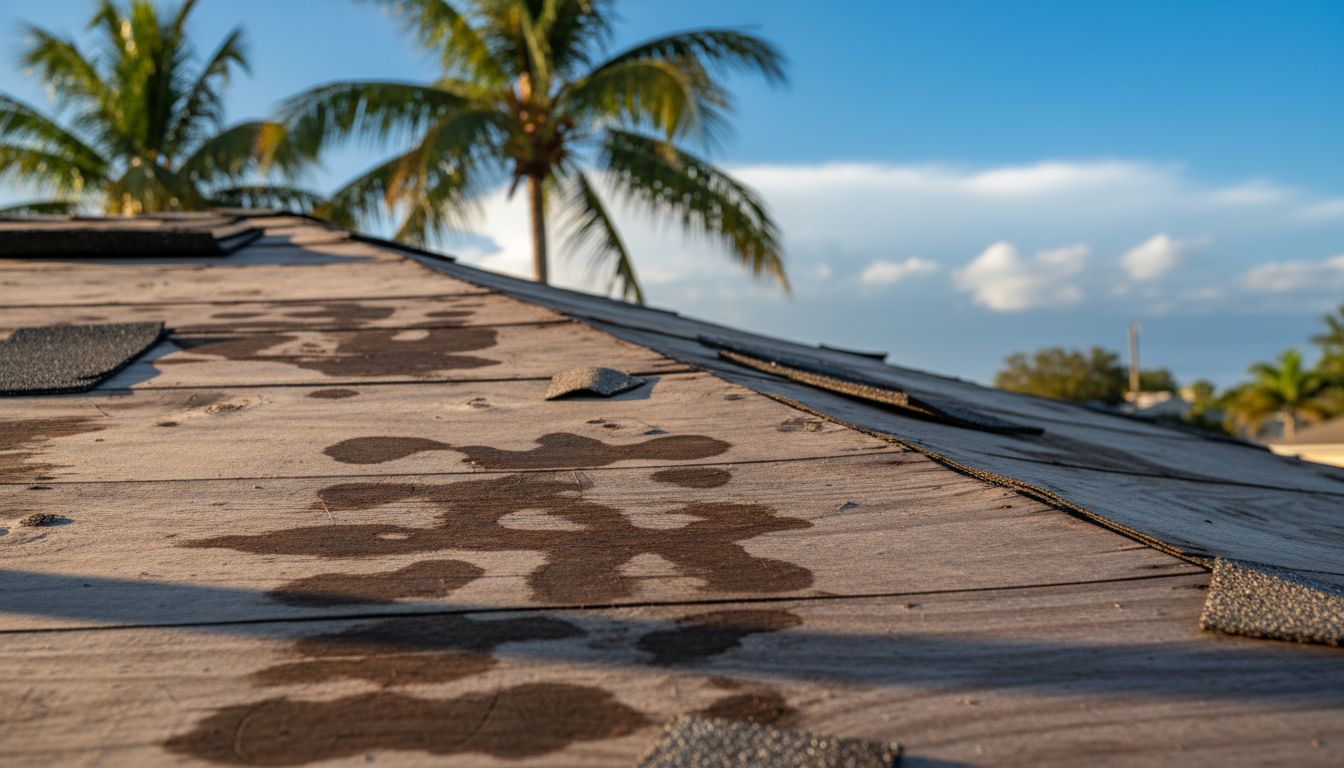
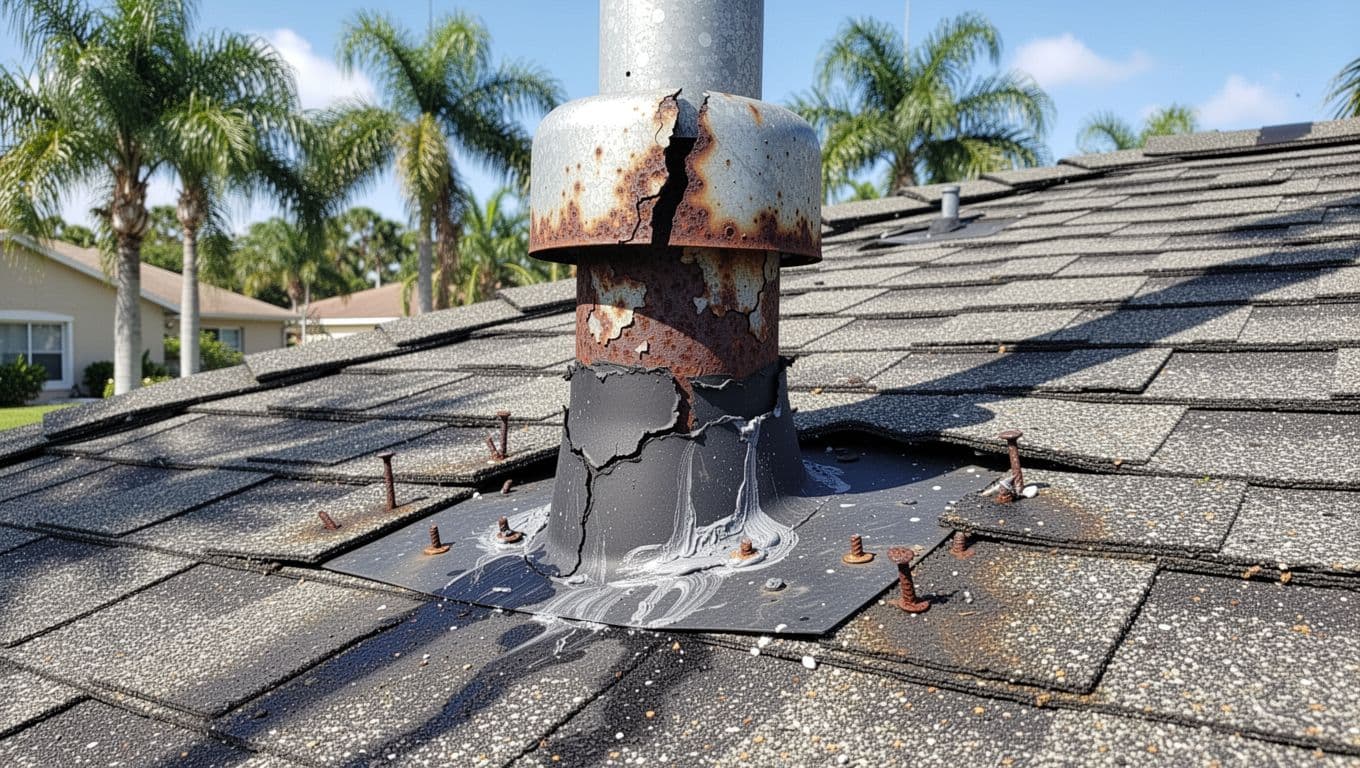 Common failure signs around a roof vent, including a split boot and corrosion, created with AI.
Use this as a quick visual reference before you call a roofer. It's built for Florida's mix of heat, storms, and coastal exposure.
Here's a checklist of the most common warning signs:
| What you see | What it usually means | Why Florida makes it worse |
|---|---|---|
| Cracked or split rubber boot | UV breakdown, age, or poor material | Sun and heat accelerate drying and cracking |
| Rust or corrosion on metal | Low-grade metal, salt exposure, trapped moisture | Coastal air and humidity speed corrosion |
| Exposed nails or popped fasteners | Movement, poor install, or shingle lift | Wind cycles loosen fasteners over time |
| Lifted shingles around the vent | Wind damage, bad lapping, or foot traffic damage | Wind-driven rain can enter under lifted edges |
| Missing or failed sealant | Aging, UV breakdown, or sloppy prior repair | Sealants can shrink and crack in heat |
| "Caulk everywhere" around the boot | Someone tried to stop a leak without fixing the detail | Heavy rain finds gaps under the caulk edge |
| Improper overlap (flashing not lapped right) | Installation error | Sideways rain punishes bad laps fast |
| Undersized or incorrect boot | Wrong part for the pipe size or roof type | Small gaps become leak paths in storms |
| UV degradation (brittle, chalky rubber) | Normal aging progressing to failure | High UV index speeds the timeline |
| Hail or storm impact damage | Dents, torn shingles, shifted vent parts | Storm debris can strike vents and collars |
Gotcha: If you see thick sealant smeared onto shingles, don't assume it's "extra protection." Over-caulking often signals a persistent leak that never got the correct flashing repair.
Not every stain means active leaking today. Still, these clues mean it's time to schedule a closer look. A home inspector's perspective on common flashing issues also lines up with what roofers see in the field: corrosion, misalignment, and missing pieces tend to show up first at penetrations.
How to spot bad vent flashing safely (ground, ladder edge, then attic)
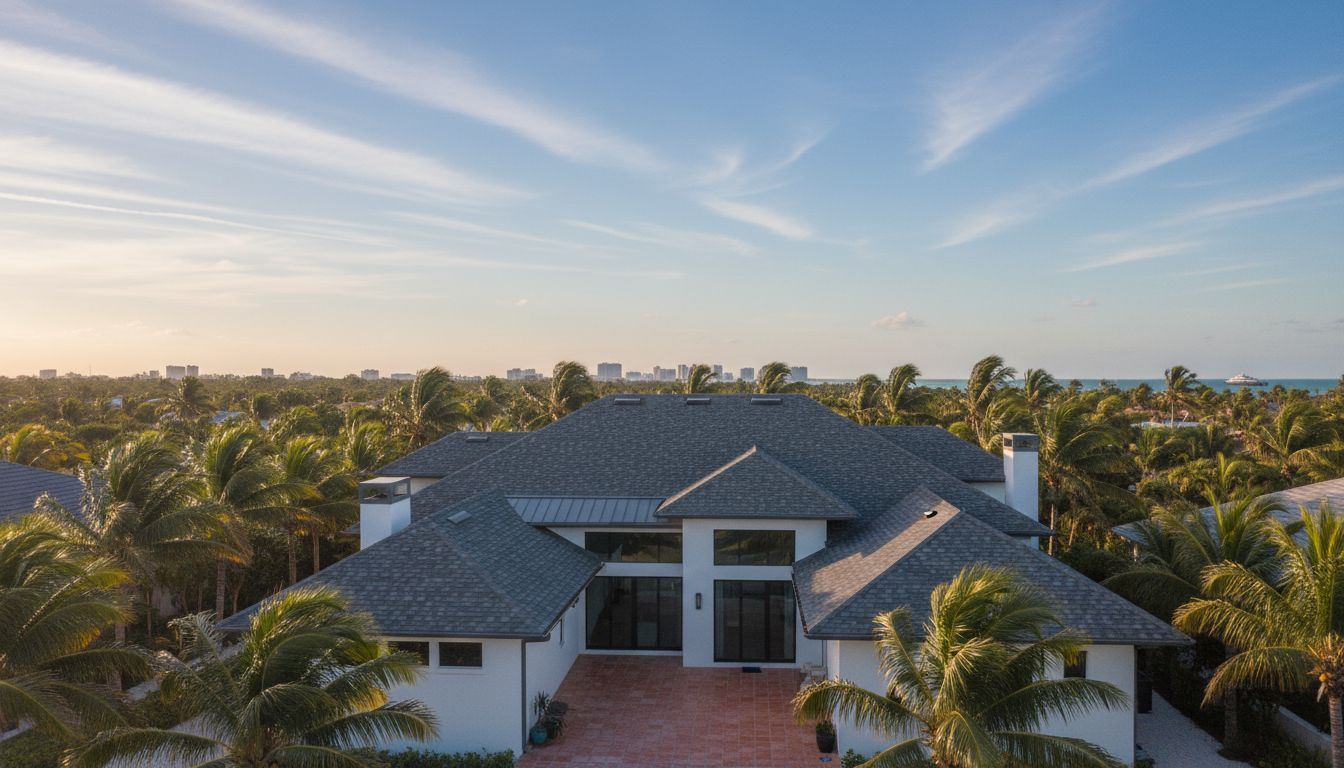
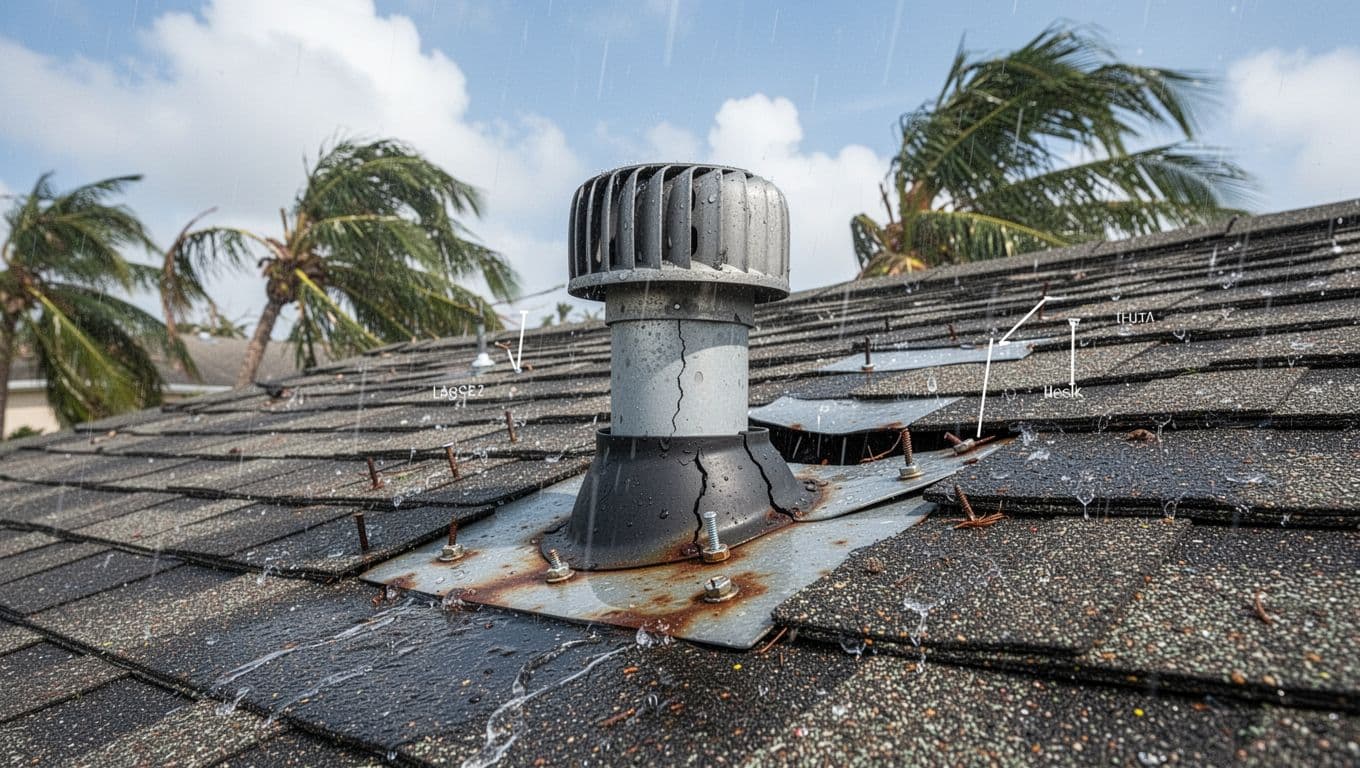 Storm conditions can expose weak overlaps and failed seals around vents, created with AI.
You can learn a lot without stepping onto the roof. The goal is to spot patterns, then get a roofing company to confirm with close-up photos.
Step 1: Check from the ground with binoculars
Pick a bright, dry day. Stand where you can see the vent from multiple angles. Then look for boot cracks, rust rings, lifted shingles, and any shiny nail heads. After storms, also scan for shingle creases or shifted areas leading uphill from the vent, since wind often starts damage above penetrations.
If you've had a recurring "mystery" ceiling spot, a vent leak is a prime suspect. This rundown of roof vent leak warning signs matches what many Florida homeowners notice first: staining, musty smells, and slow damage that shows up weeks later.
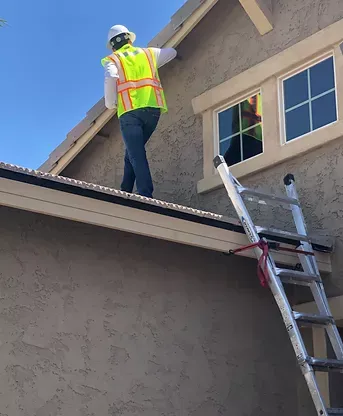
Step 2: Inspect from the ladder edge, only if you can do it safely
Set the ladder on stable ground, extend it correctly, and stay at the roof edge. Don't climb onto the roof. From that vantage, you're checking for gaps you could not see from the yard, especially on the uphill side of the flashing.
Focus on whether shingles lay flat and whether the metal base looks tucked in, not "floating" on top. Also watch for a boot that looks too small and stretched tight, because it can split sooner in the sun.
Step 3: Confirm from the attic
Bring a flashlight. Look for three key signs near the vent's path:
- Daylight at the penetration, which suggests a gap.
- Damp decking, dark rings, or stained nail tips.
- Wet insulation, mold growth, or a musty odor.
If you see active dripping, treat it as urgent.
When it's urgent (and what to do right now)
Act immediately if you have dripping water, a bulging ceiling, or water near electrical fixtures.
- Put a bucket under the drip and move valuables.
- Avoid lights, fans, or outlets in the wet area, turn off breakers if needed.
- Take clear photos for documentation.
- If water entry is ongoing and a storm is coming, ask about emergency tarping.
For cost expectations once the emergency is controlled, this breakdown of roof repair costs in Southwest Florida helps you understand what drives pricing for flashing and leak repairs.
Finally, when you hire a roofer , verify licensing and insurance, confirm permit requirements with your local building department, and ask for before-and-after photos of the vent repair. Good contractors document the lap details because that's where leaks start. If the roof has widespread aging or repeated leaks, it may be time to discuss roof replacement options, including how a metal roof compares to a shingle roof for storm performance and lifespan.
Conclusion
Bad roof vent flashing rarely fails all at once, it gives clues first. Watch for split boots, corrosion, exposed fasteners, lifted shingles, and heavy caulk "patches." Check safely from the ground, from the ladder edge, and from the attic, then bring in a licensed pro to confirm with photos. Catching it early can turn a stressful leak into a straightforward repair instead of a bigger interior rebuild.