
Florida Roof Insurance Claim Checklist After Storm Damage
After a Florida storm, roof damage can feel like a slow leak in your budget and your patience. One missing shingle turns into stained drywall, then mold worries, then an insurance paper chase.
The good news is you can improve your odds fast. A solid florida roof insurance claim usually comes down to three things: safe emergency steps, clear documentation, and clean communication with your carrier.
Use the checklist below to protect your home now, while keeping your claim on track.
The first 24 hours: stop water, protect safety, preserve evidence
Think of your home like a boat. If the roof is the hull, your first job is to plug the hole, not repaint the deck. Start with safety, then move to temporary protection.
Here's what to do right away:
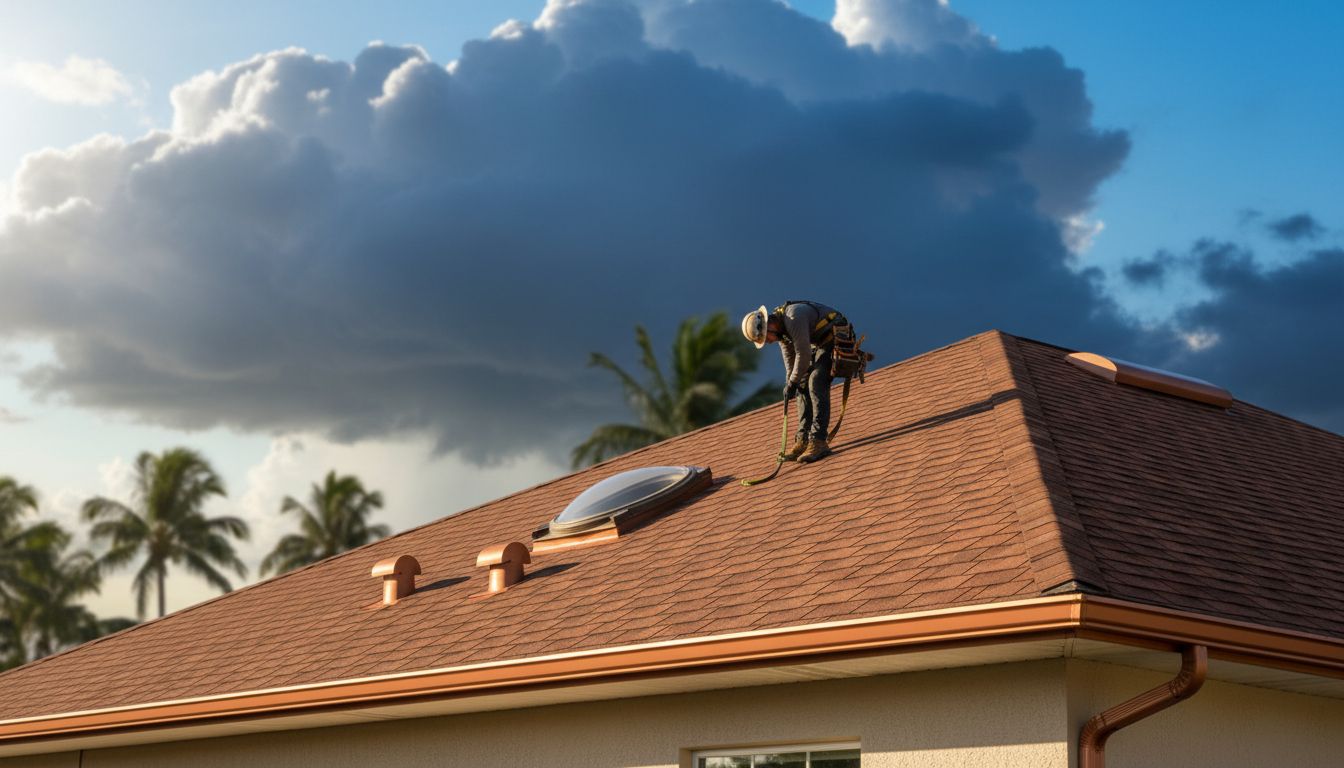
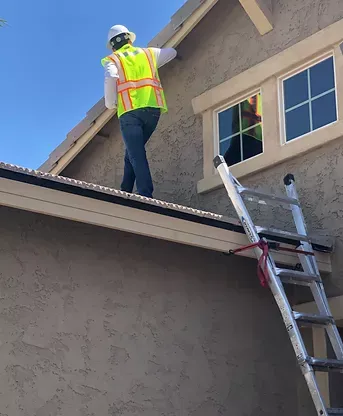
- Stay off the roof if it's unsafe : Wet tiles, loose metal panels, and soft decking can fail. Use binoculars from the ground.
- Prevent more damage (temporary only) : Put buckets inside, move valuables, and use tarps or plastic sheeting where leaks are active. Keep every receipt. If you need a practical walkthrough, follow this guide on emergency roof tarping after Southwest Florida storms.
- Don't throw away damaged materials : Save blown-off shingles, broken tiles, or dented vents if you can do so safely. They can help prove storm impact.
- Separate storm damage from flood damage : Wind-driven rain through a damaged roof is often handled differently than rising water. Document both, then ask your agent how to file each.
- Start a claim log : Write down dates, names, phone numbers, and what was said.
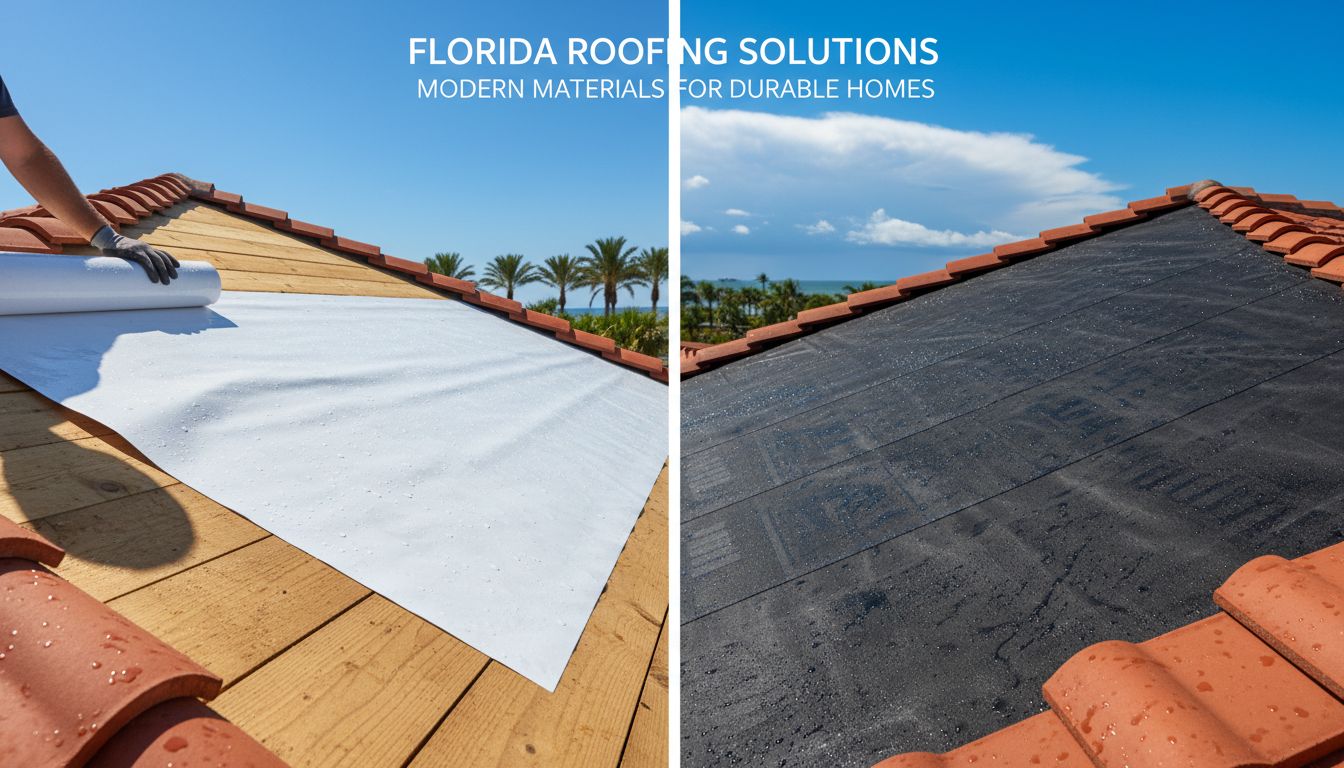
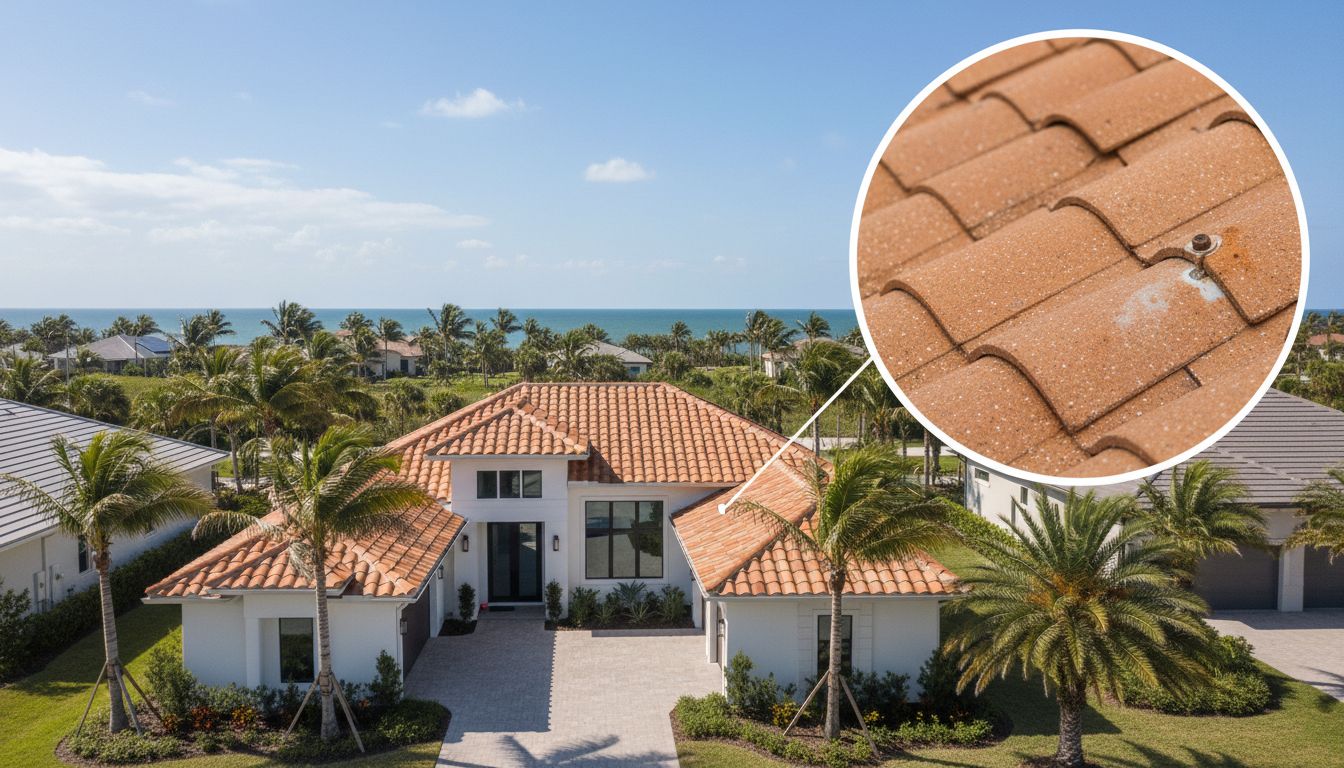
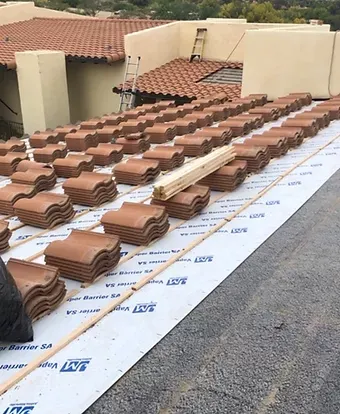
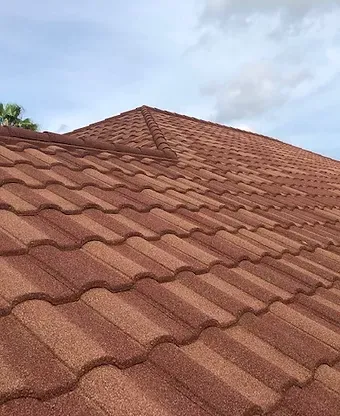
Different roof systems fail in different ways. A shingle roof may lift and "unzip" along ridges. A tile roof can crack in clusters, especially near hips and valleys. A metal roof may show lifted edges, seam stress, or flashing failures. A stone coated steel roof can hide problems at penetrations and transitions. A flat roof often leaks at seams, edges, and drains. If you own a commercial roof , note rooftop units and curbs, because they're common leak points.
Gotcha: Don't authorize tear-off or permanent repairs before the insurer documents the loss, unless your carrier gives written direction. Do temporary mitigation, then pause.
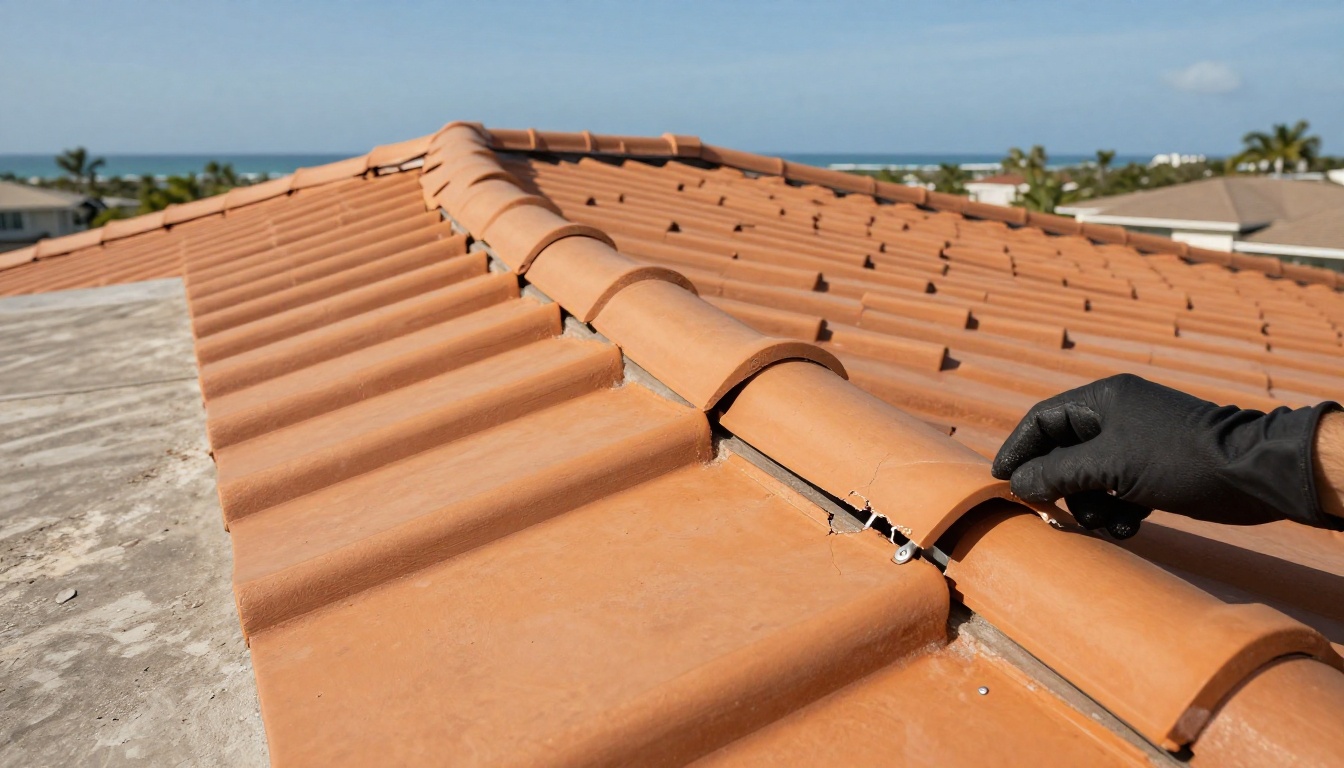
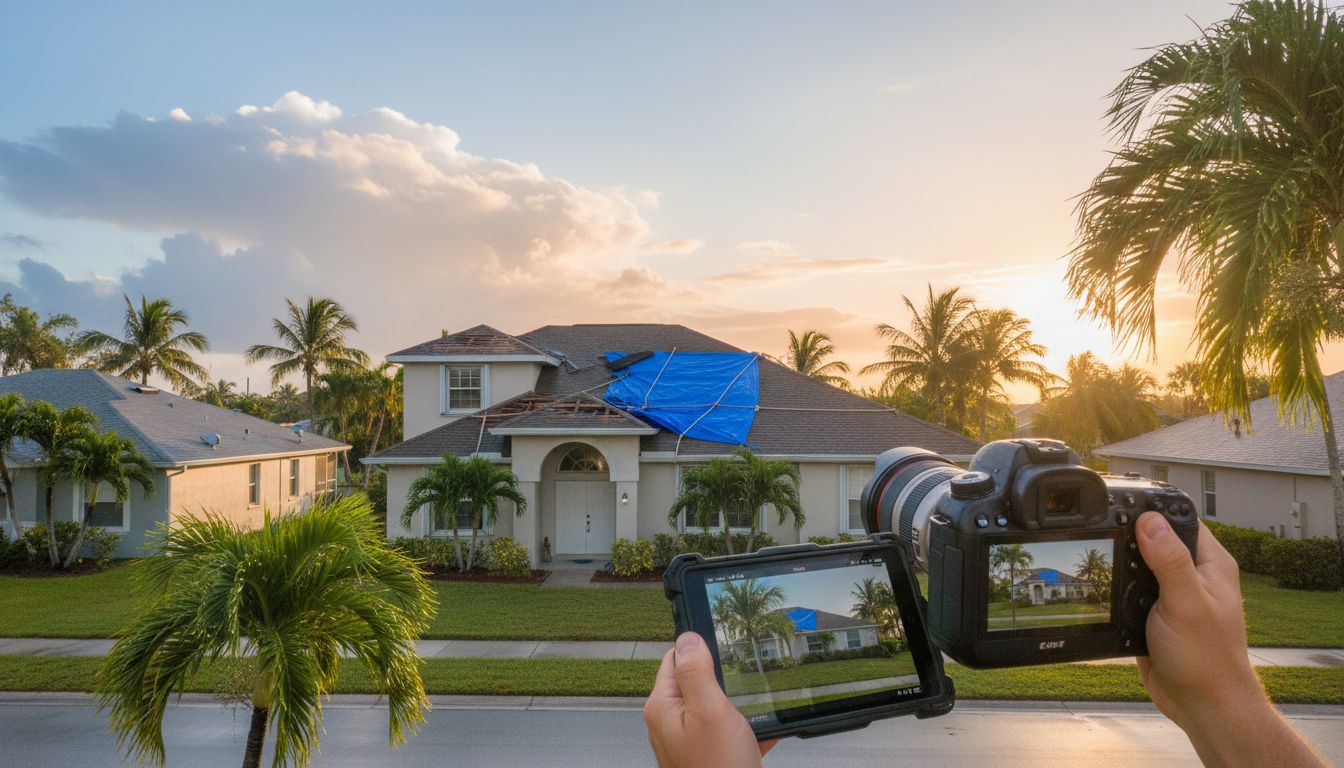
Roof inspection and documentation: what to photograph, save, and request
Insurance decisions follow proof. If your evidence is thin, the adjuster fills in the blanks, and that rarely helps you.
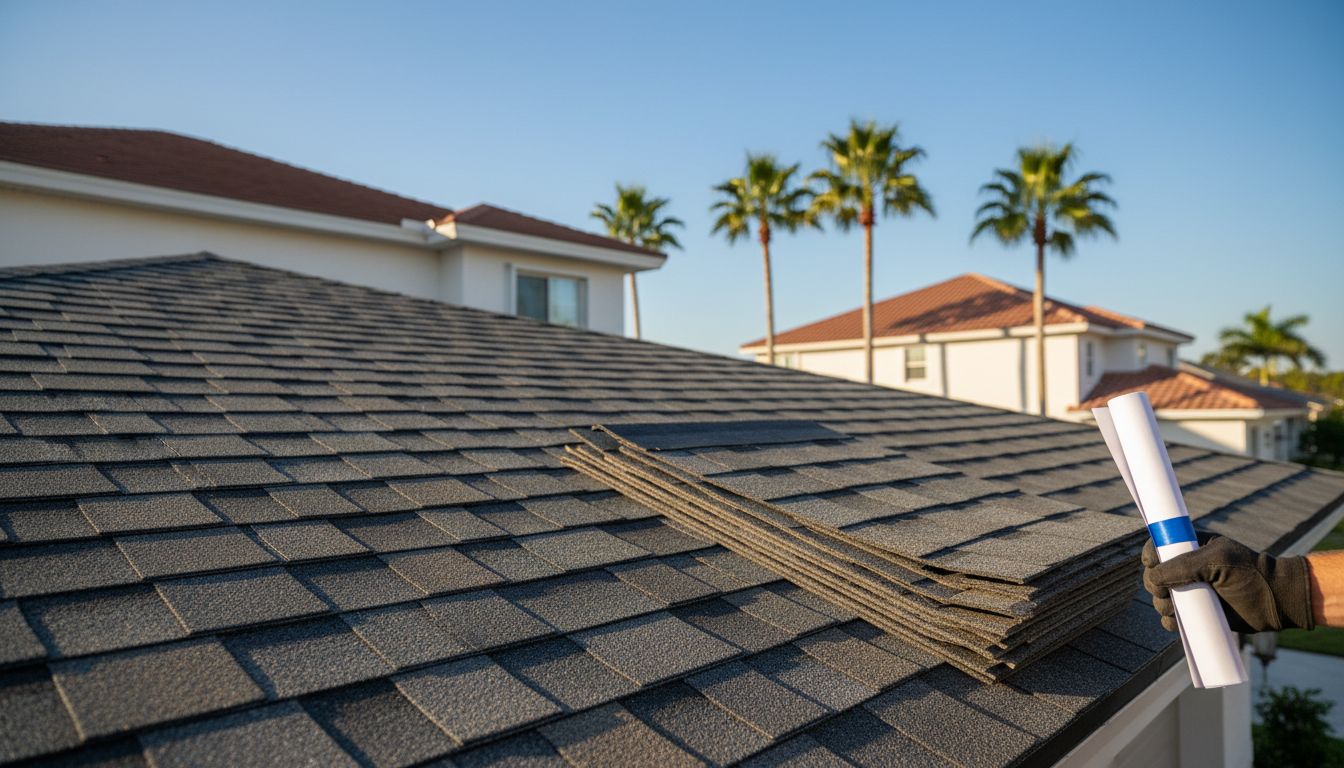
Start with a professional roof inspection by a licensed roofer who documents storm-related damage (not wear and tear). A reputable roofing company can also help you organize photos, measurements, and a repair scope for the adjuster visit. If you want a deeper local walkthrough, this article on filing a roof damage insurance claim in Southwest Florida explains the process step by step.
Photo and video checklist (quick but thorough)
Take photos before mitigation, during mitigation, and after tarping.
- Wide exterior shots : All four sides of the home, plus fences, screens, and gutters.
- Roof close-ups (only if safely accessible) : Missing shingles, displaced tiles, lifted metal, punctures, dented vents, damaged flashing.
- Soft spots and water paths : Sagging soffit, wet fascia, water trails at walls.
- Attic evidence : Wet decking, daylight through decking, damp insulation (avoid electrical hazards).
- Interior damage : Ceiling stains, bubbling paint, wet baseboards, damaged flooring, ruined contents.
- Debris impact : Branches or objects that hit the roof.
Receipts and paperwork to keep in one folder
Keep these items together, because adjusters often request them at different times:
- Tarping supplies, fans, dehumidifiers, and other mitigation costs
- Emergency service invoices
- Roof repair estimates and any engineering reports (if used)
- Permit paperwork and prior roof invoices (helpful for roof age and materials)
Florida's CFO office publishes a practical overview of claim organization in the Homeowners Insurance Toolkit , including inventory and claims process guidance.
The claim phone call: a script, key questions, and deadlines to track
When you call, your goal is simple: open the claim, confirm next steps, and remove confusion. Keep your tone calm and your details specific.
Sample phone script (copy and read it)
"Hi, my name is [Name]. My policy number is [Number]. I'm reporting roof damage from the storm on [Date]. I've taken photos and I've done temporary mitigation to prevent more damage. Please open a claim and provide my claim number. When will the adjuster inspection be scheduled, and what documents do you need from me?"
Then ask:
- "What's my deductible for this loss?"
- "Do you want a sworn proof of loss, and if so, when?"
- "Should I email photos now, or upload them to a portal?"
- "Will you send a written confirmation of what you need next?"
Florida also provides a consumer-friendly summary of claim rights and responsibilities in the Homeowner Claims Bill of Rights guide. For example, it describes required acknowledgment timeframes and what happens after you submit a complete proof of loss (if requested).
Keep control of the file: After every call, email yourself a quick note with the date, time, and summary. Small details matter later.
What to do next: a 24-hour, 7-day, and 30 to 60-day timeline
A storm claim is easier when you treat it like a short project plan. Use this timeline as your guide.
| Timeframe | Your priority | What to do |
|---|---|---|
| First 24 hours | Safety and mitigation | Document damage, stop active leaks (temporary), save receipts, start claim log, report the loss. |
| First week | Evidence and inspections | Schedule a roof inspection with a licensed roofer, meet the adjuster on-site if possible, submit photos and estimates, prevent further damage. |
| First 30 to 60 days | Scope, pricing, and repairs | Review insurer estimate, request clarification in writing, handle supplements if more damage is found, confirm permits, schedule repairs or roof replacement. |
During this window, your roof type affects the claim conversation. A roof replacement may be straightforward for a shingle roof, but a tile roof can raise matching and underlayment issues. Low-slope areas (a flat roof over a lanai, for example) may need a different scope than the main roof. Commercial roof claims often involve additional documentation around equipment, curbs, and interior business impacts.
Also ask your roofer about documentation that can help later, like wind mitigation. Four Peaks breaks down what inspectors look for in a Florida wind mitigation roof report explained.
Don't get trapped: contracts, "free roof" pitches, and post-storm scams
Storm season brings good contractors and bad actors. The scam usually sounds friendly, then turns expensive.
Watch for these red flags:
- High-pressure demands to sign "today"
- Requests for large upfront cash before materials arrive
- Anyone telling you to skip the insurer or to "make it look worse"
- Contracts that hand over claim control, or that you don't understand
For Florida-specific consumer guidance after catastrophes, review the CFO's general disaster insurance FAQs.
If you want to reduce future risk after repairs, this state guide on premium discounts for hurricane loss mitigation explains common mitigation features insurers may credit (carrier rules vary).
Conclusion
A strong florida roof insurance claim is built the same way a strong roof is built, with good prep, clean proof, and solid follow-through. Focus on safe mitigation first, then get a documented roof inspection, then keep your claim file organized and calm.
If you're unsure whether you need repairs or a full roof replacement, schedule a professional evaluation and ask for photo documentation you can share with your adjuster.
Disclaimer: This article is for informational purposes only and isn't legal or insurance advice. Always read your policy and confirm claim requirements with your insurer or agent.